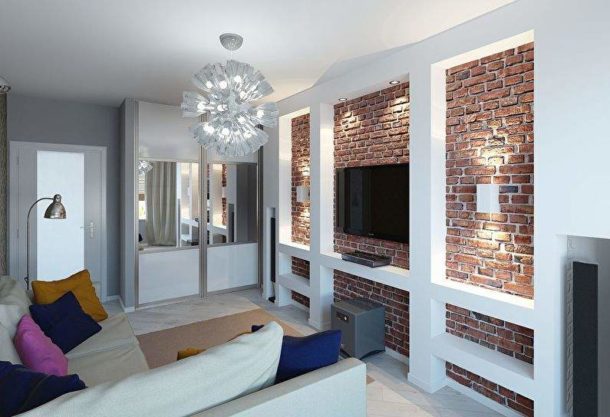
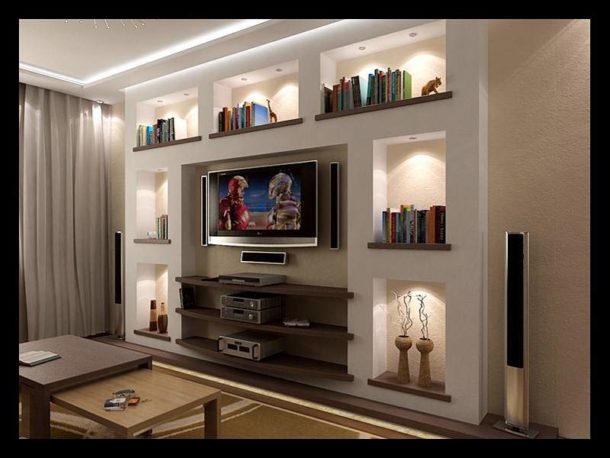
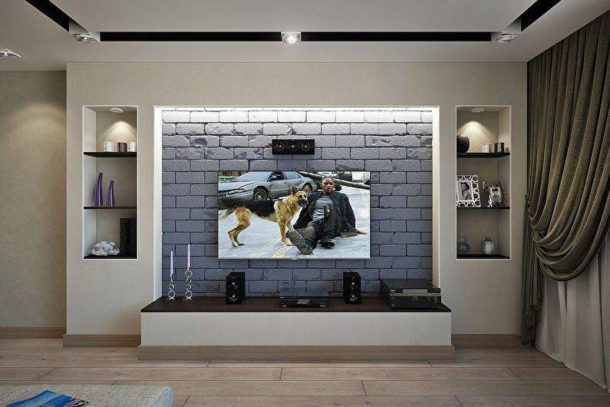
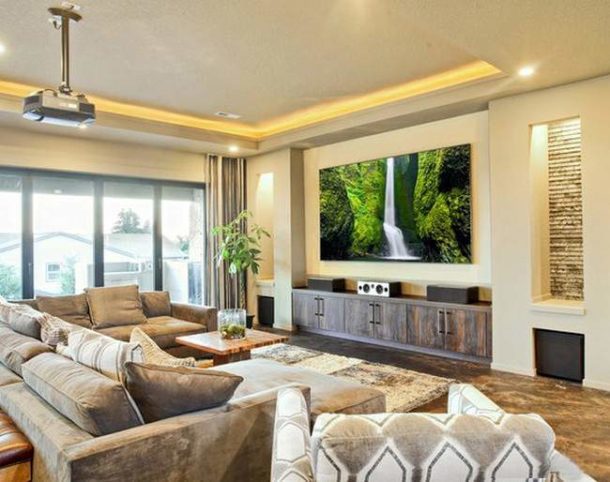
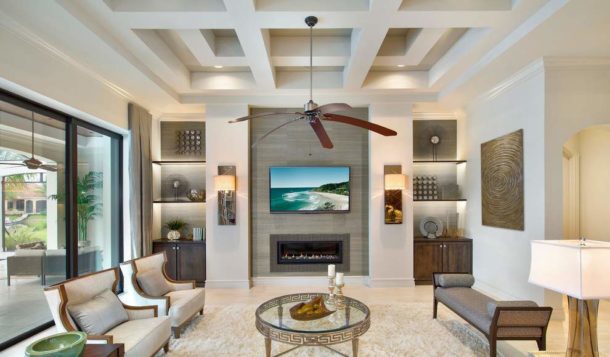
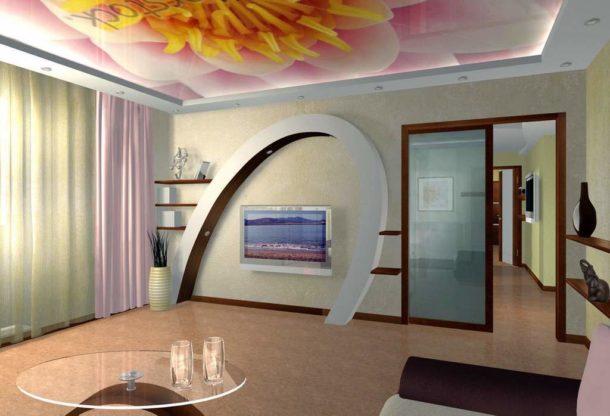
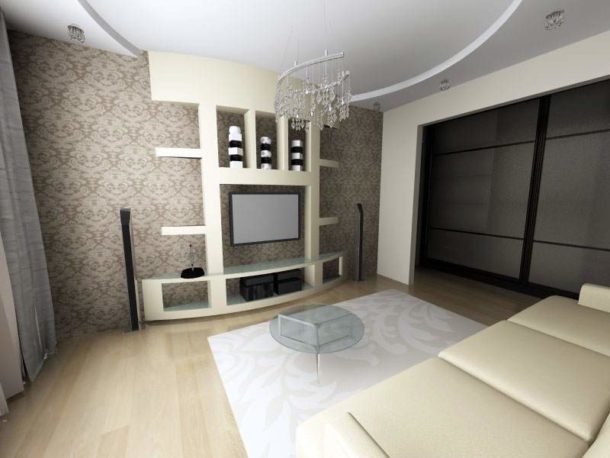
A modern TV is a very noticeable part of the interior and therefore must be harmoniously integrated into it. One of the most successful decisions is to place it in a stylishly designed recess. A drywall TV niche can be constructed independently, without the involvement of expensive help from professional builders and designers.
Why do you need a TV niche?
Do-it-yourself drywall niche for TV, will bring not only the joy of creativity, but also other benefits:
- Video equipment becomes part of the overall picture of the interior and does not look like a foreign body in it.
- The TV, as well as its accompanying devices, placed in the recess, are more protected from accidental damage. They are harder to hit with a random movement, so they are less likely to fall. This is especially true in a home with small children.
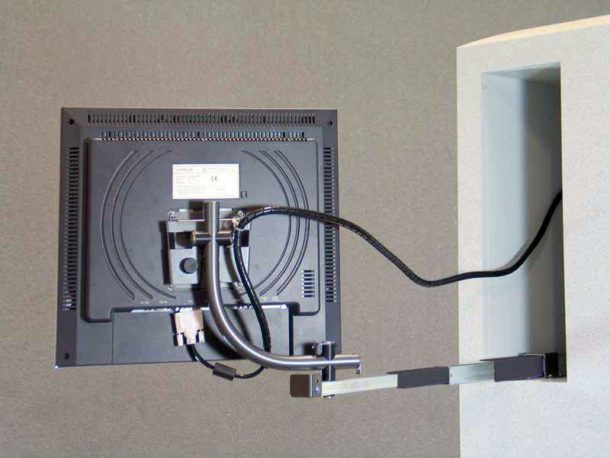
- Inside the drywall structure, you can hide all the wires without much effort.
- In the niche, you can equip additional shelves for storing various small things.
- Additional lighting built into the plasterboard TV portal will contribute to the decoration of the interior of the room.
Niche design
Naturally, a unique niche project is selected for each room. You can find thousands of photos of TV niches made of drywall, differing in size and design. But all this diversity can be divided into three types:
- Rectangular horizontal - the most versatile type, suitable for small spaces, as it will visually expand it.
- A vertical rectangular niche will visually increase the height of the room, so it is better to use this design in wide rooms.
- Oval niches are less common than the first two types. This is mainly due to the difficulty of their installation. This must be remembered, since photos of such drywall niches for TV look very tempting. But making such recesses can be very difficult.
When designing, one should strive not only to decorate the room, but also to use the space in the most functional way. Therefore, the TV shelf in most cases is complemented by harmoniously arranged additional shelves.
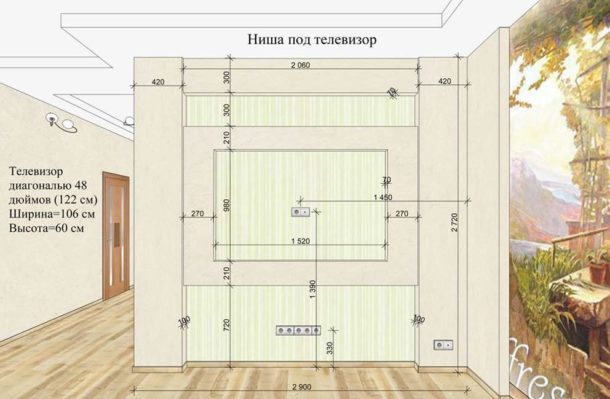
In any case, you first need to draw up a detailed drawing of the future design. It is important to get the right size. You can take an existing TV as a basis, but it would be useful to provide for a possible replacement of equipment in the future with a larger one:
- The depth of the niche must be sufficient so that the device does not protrude beyond it. In this case, it should be noted that a gap must be left between the wall and the TV for the convenience of connecting various wires. The protrusion of the socket is also taken into account.
- At the edges of the TV or plasma panel, you also need a free space of at least 10 cm wide. This will allow you to rotate the device if necessary, and it will be much easier to connect something.
TV mount
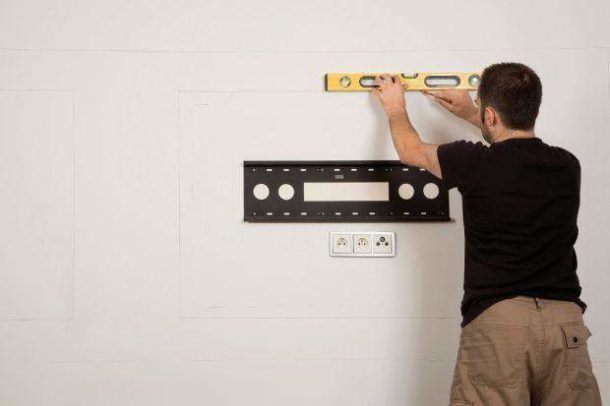
The easiest, but at the same time unreliable option is to simply install the TV on a shelf. However, with careless movement, it can easily fall. It is much more reliable to fix it on the wall with a special mounting plate. But in a GKL niche, it will be a little more difficult.
It is necessary to decide on the method of fastening at the stage of designing a niche. You can securely mount the TV in the following ways:
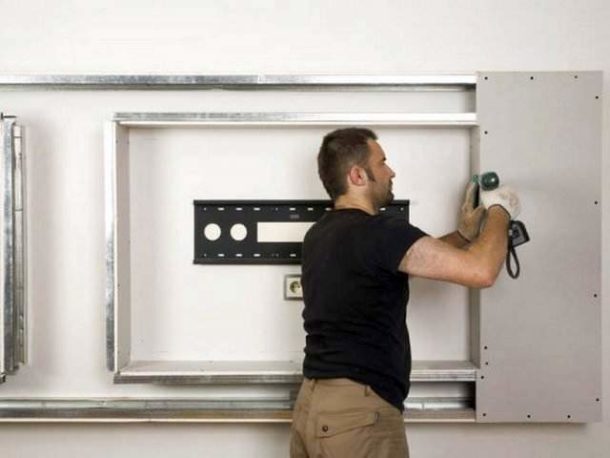
- Additional sections of the profile can be brought under the fasteners at the frame assembly stage.
- Reinforce the sheathing with a second layer of drywall.
- There will be no problems if the back surface of the niche represents the base wall of the room, or the partition of their drywall is a short distance from it. Then you can fix it with anchors.
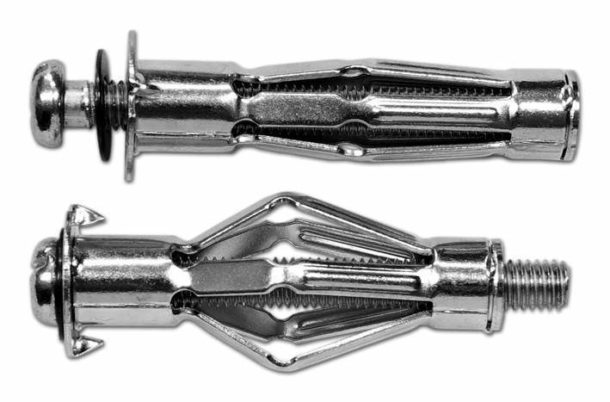
- If the bracket is mounted to drywall, it is better to use special metal dowels - "butterflies" or "molly". Expanding when the screw is screwed in, they provide a secure fit.
Installation of the frame and lining it with drywall
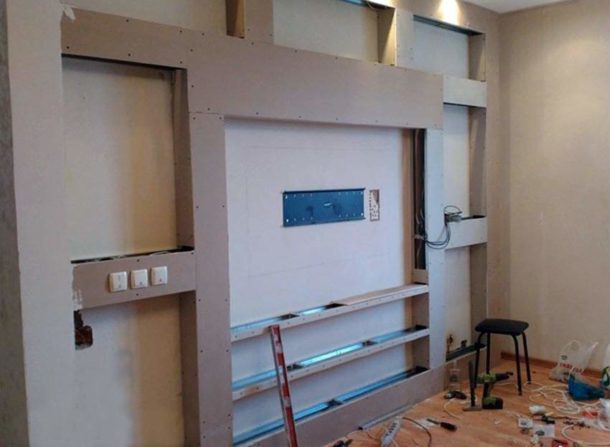
In most cases, the back surface of the niche is the base wall, so it remains to build a frame for the protruding parts of the portal.
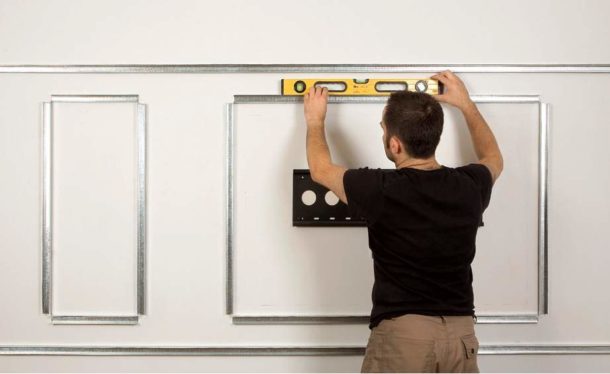
- On the wall, ceiling and floor, marking is carried out according to the draft. The optimal distance between vertical profiles is 60 cm.
- Guide profiles are attached. They are attached to concrete surfaces with dowel-nails, to wooden ones - on wood screws. Mandatory use damper tape. The fastening step should be 20–25 cm.
If you want to bend the profile, then you should cut its side shelves with metal scissors, after which it will easily take the required shape.
- Vertical racks are inserted into the guide profiles. You can fix them with the help of "fleas" - small self-tapping screws for metal. But it's better to use cutter: self-tapping screw heads can prevent the drywall from fitting snugly to the profile.
- The required number of horizontal jumpers is mounted in all planes. They provide structural rigidity.
At all stages of the construction of the frame, the position of the profiles should be monitored using a level and a square.
- Drywall cut into templates is being fixed. Self-tapping screws are slightly recessed into the material.
- The rough finish of the niche is no different from the standard finish of plasterboard structures: the surface of the assembled niche is primed and puttied, the joints and corners are reinforced with reinforcing tape, the outer edges are reinforced with perforated corners.
After the putty has dried, finishing work can be carried out according to the chosen niche design.
