Installation
Euroblock is fastened to surfaces in several stages:
- First you need to prepare the surfaces of the walls and ceiling for installation. They must be cleaned of the previous coating and thoroughly dried.
- Installation of the Euroblock should ensure a tight fit of the material to the surfaces. To do this, a crate is installed on the ceiling or wall, lagging behind the surface exactly by the thickness of the soundproofing plates.
- The euroblock is laid, filling all the space between the crate and the wall. All blocks must be laid end to end.
- For additional fixing, the blocks can be fixed to the surface with dowels and "fungi".
- To achieve the greatest sound insulation, all seams are additionally glued with adhesive tape.
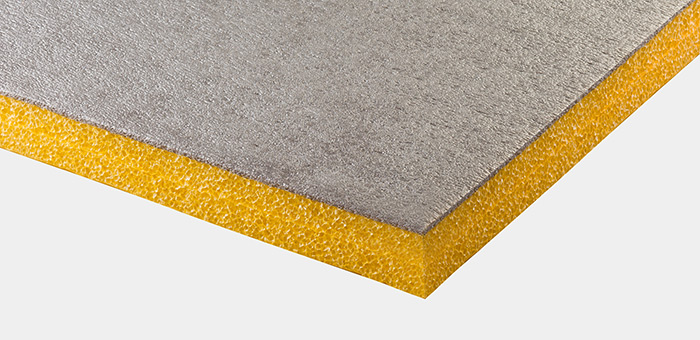
Features and Benefits
Main material properties:
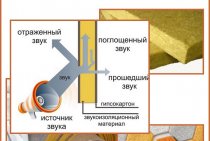
- The main property of the Euroblock is the isolation of premises from extraneous noise.
- In addition to noise suppression, Euroblock is able to provide thermal insulation.
- The material is resistant to physical aging or decay.
- It can be in an aggressive environment and fully perform its functions.
- Durability. The minimum service life of the material is 20 years.
- Euroblock laying technology does not involve the use of personal respiratory protection equipment. This is ensured by the environmental friendliness of the material.
- Plates are well suited for installation in any room and on any surface. Due to the versatility of the Euroblock, it can be used to soundproof the entire house.
- The standard size of the material allows you to easily lay it on any surface.