It would seem that what can be difficult in wallpapering? Cut, spread and glue, that's all. That's just with this approach, you can easily spoil the material chosen for so long or get the result that was not at all what was planned. It turns out that the do-it-yourself gluing process has many subtleties, especially when it comes to wallpaper with a pronounced pattern. Before starting work, you will have to find out what rapport is, how to cut the wallpaper so that the image on adjacent strips matches, and finally, how to properly glue the wallpaper with the pattern.

Types of pattern on the wallpaper and features of its combination
Images on canvases can be conditionally divided into several types, which will differ not only in appearance, but also in the principle of working with them.
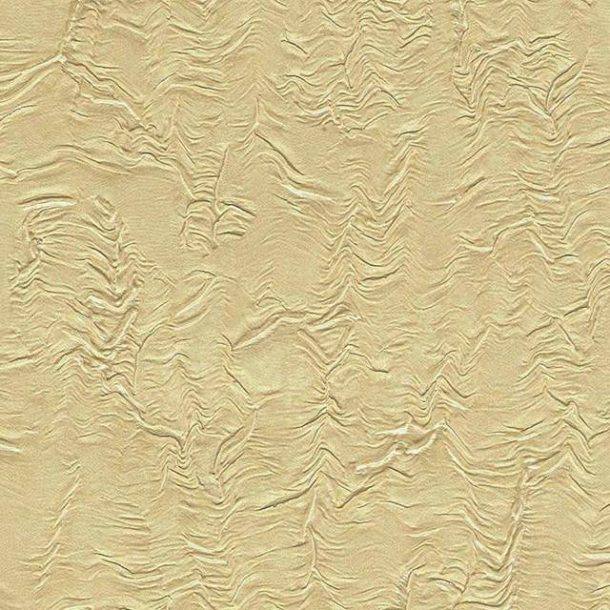
- Monochrome drawing. This includes canvases without an image or a pronounced pattern, for example, speckled, polka dot, as well as with texture. It does not need to dock image elements, which means that it will be easier to work with such canvases.
- Abstract - wide strokes, stains, spots, often arranged in a chaotic manner. Such wallpapers usually do not require adjustment of the strips.
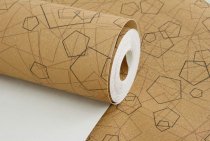
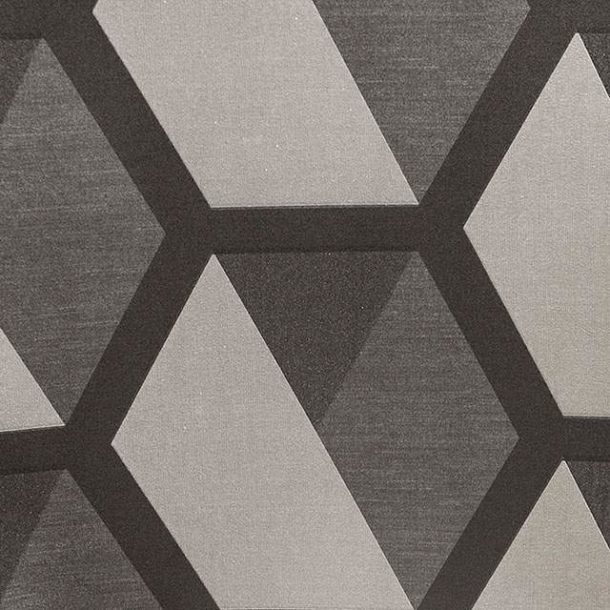
- Geometric - lines, squares, circles, rhombuses, small and large. Most likely, a combination of elements will be required.
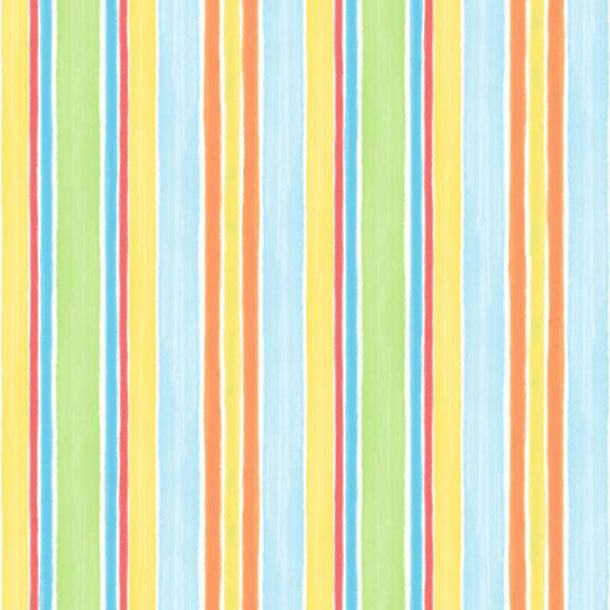
- Strip. Vertical usually does not require adjustment, horizontal requires precise docking.
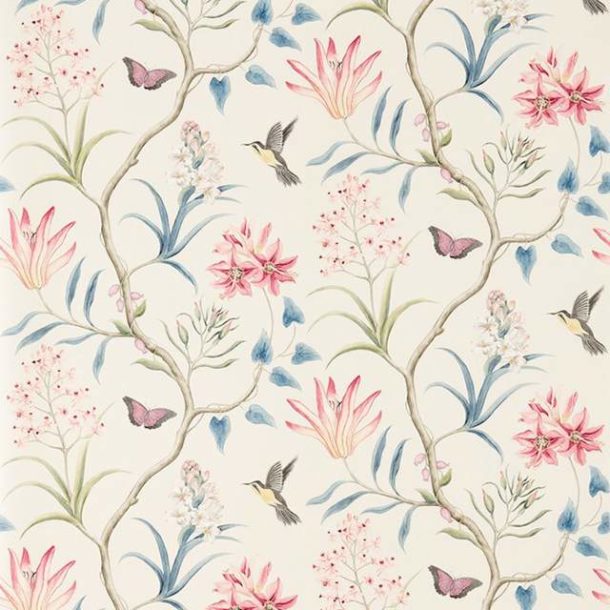
- Vegetable - leaves, stems, branches, flowers. As a rule, they need to adjust the elements of the pattern.
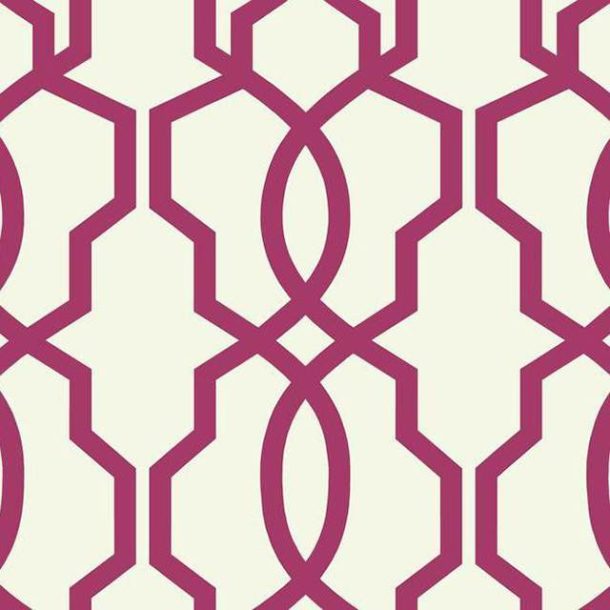
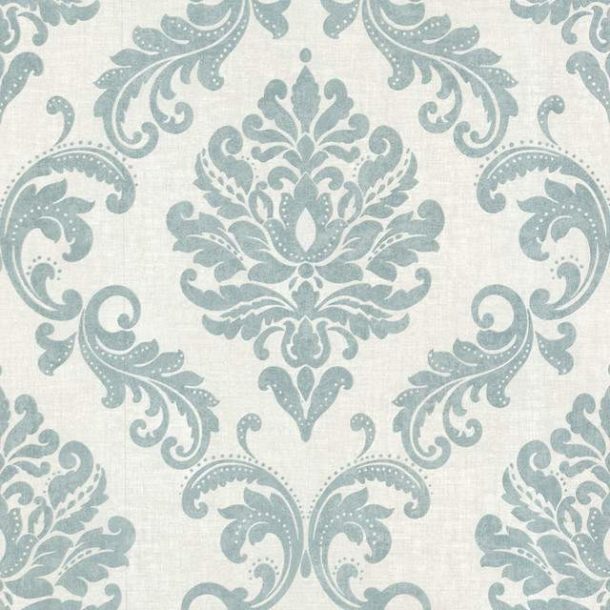
- Classic - monograms intertwining with each other and forming a single whole on the surface of the wall. Docking is required.
- Ornamental - hieroglyphs, ornament, Persian carpet motifs, etc. The need for adjustment depends on the nature of the pattern.
-

- Monochromatic wallpaper
-
- Abstraction

-
- geometric pattern
-
- Strip
-
- vegetable drawing
-
- Ornament
-
- monogram
What is rapport
Rapport (drawing step) is the repetition of an image on one strip of wallpaper. Information about it is usually contained on the label of the roll.

Rapport is of two types:
- in height - repeat the pattern along the entire length of the wallpaper sheet;
- lateral - duplication of the pattern along the width of the strip.
The first type of rapport (the height of the repeating pattern) will participate in the calculations, so it is he who is mentioned below.

Knowing the ratio of the height of the rapport and the height of the room, you can easily calculate how much you have to cut off from each strip so that the pattern fits together.
Features of gluing wallpaper with a pattern
Working with wallpaper with a print has its own nuances. Knowing these features will help you avoid mistakes, such as pattern inconsistencies.
- When buying material, it is taken into account that the amount of waste due to the need to combine the pattern will increase. Therefore, you need to take rolls with a margin. Knowing the rapport step, you can calculate the required number of tubes most accurately.
Advice. To significantly reduce the proportion of waste, it is recommended to cut off pieces from different rolls when selecting a pattern.
- For perfect alignment of the image, it is imperative to leave allowances of a few centimeters at both ends of the strip.
- During gluing, special attention is paid to the joints.
Wallpaper calculation without pattern fitting
Some canvases, such as vertical stripes or speckles, do not require adjustment of the picture.

Consider the calculation procedure using the example of a room with the following parameters: perimeter - 18 m, ceiling height - 2.5 m. Standard roll width - 53 cm, length - 10 m.
- We divide the perimeter of the room by the width of the wallpaper tube and get the number of stripes. The result is rounded up (18: 0.53 = 34 with rounding).
- We divide the length of the canvas by the height of the room (10: 2.5 = 4 stripes). Possible displacement of cuts will be hidden by skirting boards near the floor and ceiling.
- To obtain the required number of rolls, we divide the first result by the second (34: 4 = 8.5). Rounding up, we get 9 tubes.
Attention! In the case of gluing wallpaper with an overlap image, the resulting width of the material should decrease by two to three centimeters.
Calculation with pattern fitting
Wallpaper with a complex or large ornament requires adjustment, so the calculation will be different. The length of the strip should exceed the height of the room and be a multiple of the rapport (drawing step).

Let's analyze the order of calculations for the same room (perimeter - 18 m, ceiling height - 2.5 m). Roll width - 53 cm, length - 10 m, repeat - 38 cm.
- The strip length is calculated as follows. We divide the height of the room by the value of the rapport (2.5: 0.38 = 6.6). We round the resulting number up to a whole number. In our case, this will be 7. We multiply the value of the image step by the resulting number (0.38 × 7 = 2.66 m). Now we divide the length of the roll by the existing result (10: 2.66 = 3.8). Round up to a whole number, but down. It turns out that the roll is enough for 3 cuts, the rest is forced losses.
- Next, we calculate the number of tubes. First, we find the number of strips, for this we divide the perimeter by the width of the roll, as in the first case (18: 0.53 = 34 with rounding). Now we divide the obtained value by the number of bands in the tube (34: 3 = 12 with rounding). Our room will require 12 rolls.
As you can see, the difference between the number of wallpapers with a pattern without alignment and an image that needs to be adjusted is as much as 3 tubes.
Wall surface preparation
Preliminary work before sticking wallpaper with a pattern does not differ from standard preparation. The algorithm looks like this:
- Clean the surface of old coatings. How to do it right, read here.
- Apply a coat of primer.
- Putty the surface (if there are chips, cracks, bumps).
- Let the walls dry.
- Clean with sandpaper or sanding net.
- Prime again.

About how drywall is prepared for wallpapering, it is written in detail here.
Marking the wall and placing a large picture
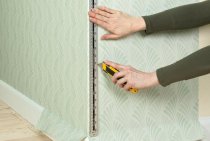
Often when wallpapering, you have to deal with walls and ceilings that have a slope. The marking method will depend on the degree of curvature at the corners. First you need to measure the height of the room in each of them.
- With a slight slope, you need to use a plumb line or laser level to mark the walls in order to maintain a strict vertical.
- In case of a difference of more than 6–8 cm, it is recommended to stick wallpaper with a pattern perpendicular to the ceiling, without focusing on a plumb line. In such a situation, stripes that are perfectly aligned vertically will appear to be littered due to the visual effect created by the sloping surface.
Important! Wallpaper with vertical stripes are glued strictly on a plumb line, regardless of the degree of curvature of the ceiling surface.
- If the ceiling is uneven, wallpaper with a large pattern should be glued in such a way that for the first time the three-dimensional image element is located as far as possible from the top of the wall. Otherwise, the curvature of the surface will immediately be evident.

Even with the marking done correctly, the pattern of the last strip may not converge with the first due to the curvature of the surfaces. Therefore, when deciding where to start gluing material with a pronounced image, it is better to choose the most inconspicuous place in the room.
Drawing without displacement
When sticking wallpaper, the image on which does not need to be shifted, proceed as follows:
- Using the calculations made, we cut the roll into strips, the length of which is a multiple of the rapport step and slightly exceeds the height of the room.
- Sticking wallpaper with a large pattern is necessary, taking into account the rapport. All stripes should start with the same pattern, for this you need to select canvases so that the pattern matches. If you use the strips from the second roll to match, there will be much less scraps.
- Thin wallpapers are glued with an overlap. You need to start work from a wall close to the window, otherwise the overlaps will be noticeable.
- The first strip should be located from the drawn vertical line near the corner (along the plumb line).
- After the opposite wall is pasted over to the corner, we return to the first vertical line, which served as our reference point, and continue to glue the wallpaper from it.

Offset pattern
It happens that the elements of the image in all stripes at the edges do not match in height and therefore the wallpaper is glued with an offset pattern. If you take adjacent strips from one roll, you will get a huge overrun. We use a trick that will help save material.
We take 2 tubes and unwind them on the floor. We combine the canvas from the 2nd roll with the strip from the 1st. We lay out the cut sheets in two piles. Further, the pattern on the wallpaper of the two rolls will match. When gluing, the strips from both stacks alternate: the first sheet is from stack No. 1, the second - from No. 2, the third - again No. 1, etc.

How to glue wallpaper with a pattern in the corner
When wallpapering with a pattern in the corner, image distortion often occurs. To avoid this, follow a few rules.
- It is necessary to leave an overlap of the canvas on the adjacent wall.
- The resulting joint is masked in the upper part of the corner.
- Glue the edges of the strips exactly along the line drawn before. The edge of the second canvas is cut in the corner.

Most likely, it will not be possible to completely avoid distortions of the pattern in the corners, but errors can be minimized.
Results
Gluing wallpaper with a large or medium-sized image that requires alignment is more difficult than plain canvases. Another disadvantage of this type of material is high consumption. But if you understand all the intricacies of the calculation and the gluing methods described above, you can not only easily cope with this work, but also save material by reducing the amount of waste.
If something in the article seemed incomprehensible, write in the comments. We will try to answer all questions.