Let's start soldering
The process of soldering plastic must begin from the inside of the bumper. To do this, one end of it is motionlessly fixed, and electrodes are laid along the seam. Thus, the heating element melts the material, which, in turn, fills the recesses of the scar.
Scheme of the welding electrode.
Direct the nozzle of the gun should be perpendicular to the seam. To begin with, it is advisable to tack the parts in several places: this will improve their fixation, which will further facilitate the soldering process. After you can start filling the seam. On the next pass, you need to capture the side zones. With each stitch filling, the electrode gradually decreases, so it will need to be replaced in time.
When the entire section has been completed, wait for the mass of plastic with the formed bubbles to cool down a bit - this will take about 5 minutes. Then start ironing the seam. To do this, you can use any blunt object, for example, a wooden handle of some tool. In hard-to-reach places, the surface is leveled with your fingers, just remember to use gloves. Full curing of the seam will occur in a few hours.
This reinforcement is done inside the bumper. To make the adhesion of the mesh to the surface as strong as possible, molten plastic is applied around its entire perimeter, filling all the cells. Thus, by drowning the mesh, you will get a durable surface, and when the plastic has completely cooled down, its excess can be removed with a grinder. After that, you need to get rid of the resulting hairs, this is done using a building hair dryer. Just keep an eye on its temperature so as not to overheat the surface of the bumper.
This completes the soldering process, now you need to putty the surface from the inside and outside, while repairing all the bumps. Then the putty must be sanded with sandpaper. Next, the surface is primed and paint is applied to it.
This is how you can repair the bumper of your car yourself, while not spending your money in expensive auto repair shops, where this repair will result in a tidy sum.
It often happens that a plastic part or its fastening bursts, comes off, and so on. I don’t really want to buy a new part because of some small fastener. It remains to repair by soldering and then strengthening with soda and superglue. But first things first.
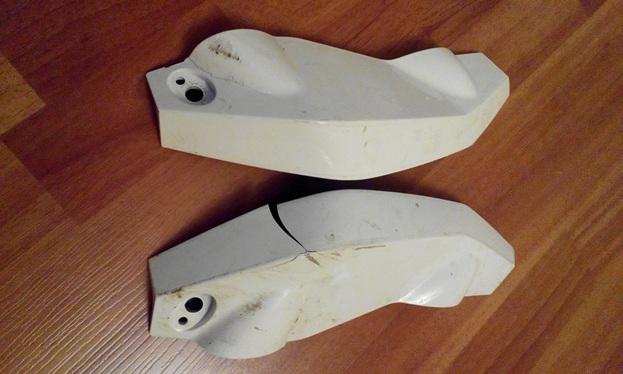
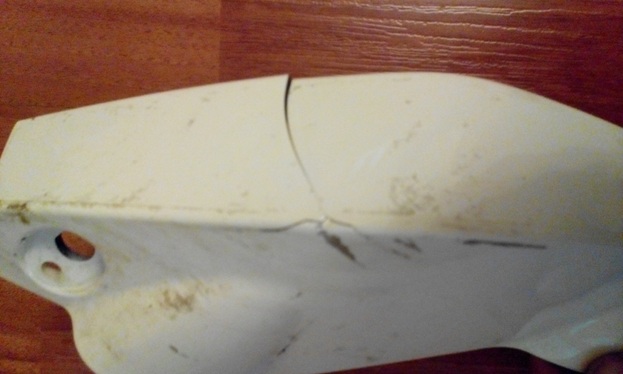
It may be that the part will simply crack: here you can immediately proceed to soldering. But it happens that the plastic is deformed, then before soldering it is necessary to return it to its original position, and this can be done with a building hair dryer.
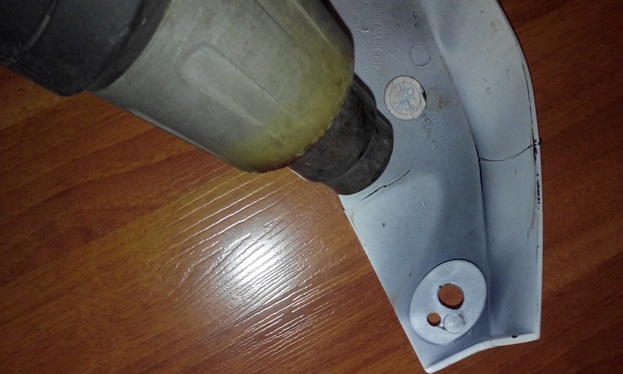
After that, we take a soldering station (in fact, this is an ordinary soldering iron with a thin tip, the temperature of which can be adjusted, making sure that this or that plastic does not burn, but melts).
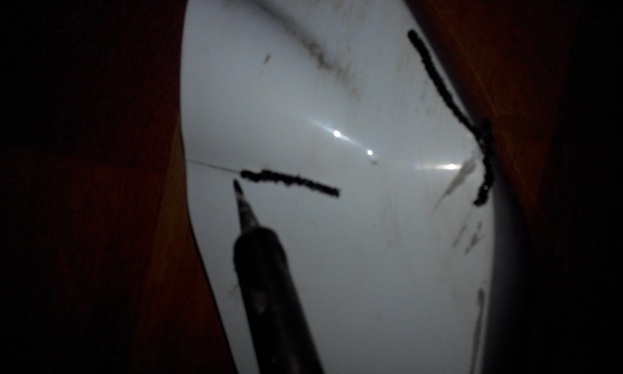
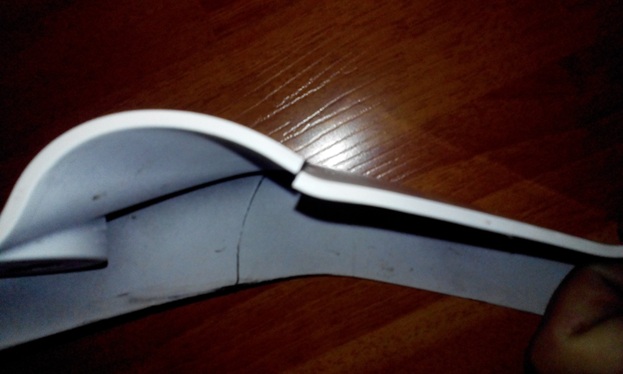
We carefully solder deep, applying stitch by stitch, and solder 5-10 mm more than there is a crack. It may simply be that the crack is internal and is not visible on the surface. So we solder each crack, as a result we get a similar web of seams.
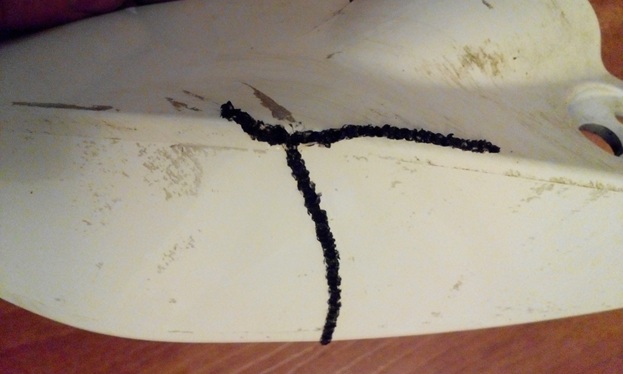
We do the same on the reverse side of the part.
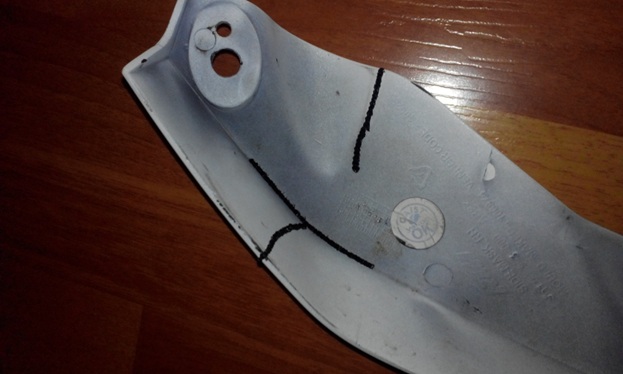
After the done, the seams need to be processed, made flush with the main surface, and the entire surface should be prepared as a whole, if, of course, this is required, but the most important thing is the seam. And we do it with ordinary sandpaper, grit about 100.
It seems to be everything? But no, now the fun part!
We need ordinary baking soda and any superglue.
There is a gap in the soldered seam between the ties that needs to be filled in order to give the whole thing final rigidity and complete confidence in the reliability of the soldering.
We take superglue and apply a thin layer of it into the seam. Make sure that each seam cavity is filled. Keep it like this for about 10 minutes.
After that, apply another layer of superglue and sprinkle it all on top with soda!
Soda reacts with super glue, after which it all crystallizes and a stone seam is obtained! The entire space between the ties is filled and rigidly fastened, the seam is super strong, when you try it yourself, you will understand everything)
If required, for painting, for example, the seam can also be processed with sandpaper.
The plug shield was soldered in the same way. I didn’t process the seam, it just doesn’t make sense.
I hope that this method of repairing plastic is useful to someone)
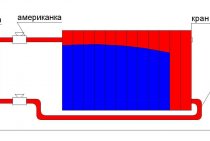
How to solder plastic pipes
The range of building products is growing every year. Modern materials appear on the market, which facilitate the construction steps and increase the productivity of workers.
Consumers tend to use pipelines with a long service life when planning internal systems in houses.
A suitable alternative that meets consumer needs are plastic internal communications branches. How to solder plastic pipes?
Another advantage of such technologies is the possibility of independently repairing or replacing water supply and heating networks. How to solder plastic pipes for plumbing?
The widespread use of this material is due to a number of reasons. The positive properties of such structures, unlike metal ones:
Polyethylene models are mounted by soldering or using couplings / fittings (coupling assembly). How to solder plastic pipes for plumbing?
For new water supply networks, PVC and polyethylene products without reinforcement and reinforcement are suitable. Preparation requires creating a diagram of the future water supply with the designation of the lengths of the branches, its position and all the fittings necessary for installing the structure. The correct calculation of the lengths and number of bends will simplify the technology, increase the speed of the task and prevent rework.
The heating device is a special device with a sole with attachment to it of special nozzles of various diameters. There are devices that come with two or more nozzles at the same time.
The stages of the technology for laying hydrocommunications will tell you how to learn how to solder:
Attention! When installing heat and water supply with a solder joint, it is strictly not allowed to fall water or moisture into the cavity or onto the surface. When heated, water, turning into steam, deforms the plastic structure, causing it to lose its strength.
Temperature conditions for soldering are described in the instructions for the tool. On modern products, an automatic heating mode is set, depending on the size of the network to be installed and the depth of welding. On previous brands, the heating force was selected manually.
At what temperature should plastic pipes be soldered? When soldering polyethylene risers, we set a temperature regulator in the region of 220 ° C, for polypropylene - 260 ° C. On the heating mechanism there is an indicator that shows the readiness of the device for use. The indicator lights up only in heating mode.
If you want to install a water supply of the same size, then you should not overpay for the number of nozzles and the presence of a temperature mechanism.
If a large volume of production of a long-term nature is planned using networks of various sizes around the circumference, then we purchase a universal device for connecting with the latest technical capabilities and characteristics.
Knowing the technology of connecting autonomous communications is not enough. For a quality installation, you need to know a number of features of laying and soldering housing branches.How to solder plastic pipes? To ensure the professional assembly of technological buildings, it is necessary to remember some nuances of the connection:
Installation of heat supply has a number of difficulties. The device of heating models can be carried out in rooms with low temperatures, which complicates the soldering process.
For heat supply, systems are developed depending on the temperature of the water supplied to the system and the operating pressure.
The use of plastic in construction has increased productivity and reduced the cost of the necessary material.
Pipes for heating are reinforced with fiberglass, which makes this material strong and durable.
Soldering plastic pipes with your own hands is easy. The soldering process does not require professional skills or experience. Anyone can install life support networks in their own home.
The mandatory composition of the required tool includes only a soldering device. The remaining auxiliary tools can be replaced with improvised means, a pipe cutter with a sharp knife.
A pipeline made of polyethylene structures and PVC is a reliable, durable and environmentally friendly system for supplying water and heating.
Share it with your friends and they will definitely share something interesting and useful with you! It's very easy and fast, just click the button of the service you use most often:
Preparatory work
Before proceeding with soldering, it is necessary to carry out a number of preparatory work.
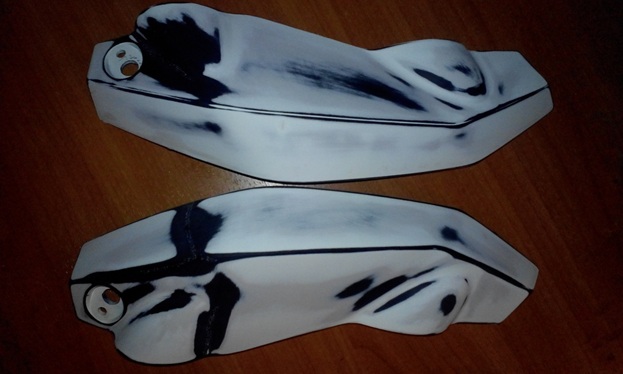
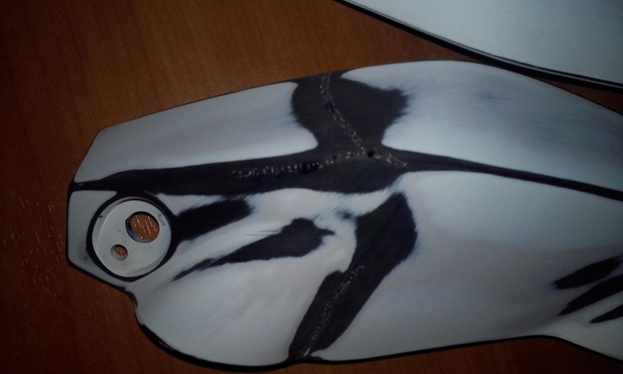
Diagram of a car bumper.
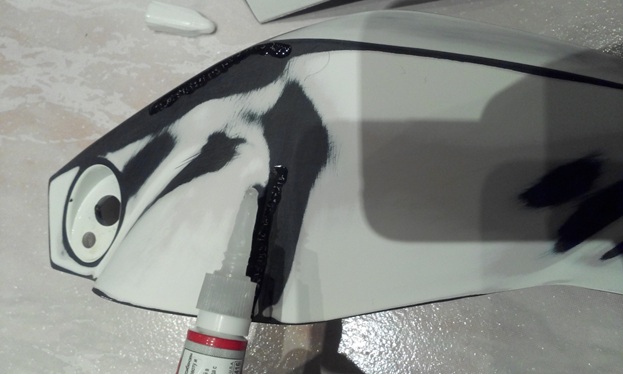
First you need to clean the surface of the bumper from dirt. Then, using a file or sandpaper, remove the paint and varnish residues at the defect site, and clean the edges of the plastic. Then the entire area must be degreased.
It is also desirable to know what plastic the part is made of.
This is especially important if you are going to use a soldering gun or a soldering gun, because you will need special rods and a nozzle. If a soldering iron is used, then it is not worth paying much attention to this, since the temperature regime is violated in the place of the solder and the strength of the seam will be the same.
Then it is necessary to restore the broken part, if there are several fragments, then clamps must be used for assembly
Also, the screed of the seams can be made with staples, only so that they do not pierce through the plastic. To do this, the legs of the staples are shortened with wire cutters. If these tools are not at hand, use ordinary clamps. In this case, soldering plastic will be much more practical.