The kitchen set is subjected to heavy loads, so sooner or later there comes a time when it loses its attractiveness. But this does not mean that strong lockers that will last for many more years will have to be thrown away, replacing them with new ones. There is another way out: restoring kitchen furniture will help restore them to a decent look and save money. Consider the methods of such repairs available at home.

Restoration of kitchen facades: different types
Facades are part of the kitchen, which is constantly in sight. They primarily suffer during operation and lose their original beauty. Each type of facade has its own service life, its own characteristics of restoration and repair.
- Laminated. The base is MDF or chipboard, on which the melamine film is laid. They are inexpensive, but the coating wears out quickly. It is impossible to laminate the surface again at home, therefore, depending on the nature of the damage, another method of updating is selected.

- Framework. The perimeter of the facade consists of MDF, and glass, plastic, laminated chipboard or rattan are placed in the center. Not resistant to damage, but easier to repair.

- Coated with plastic or PVC. These materials make the furniture attractive and resistant to damage at an economical price. It is not difficult to restore such facades: the most common problem is the peeling of the protective layer from the base, which is solved with glue.

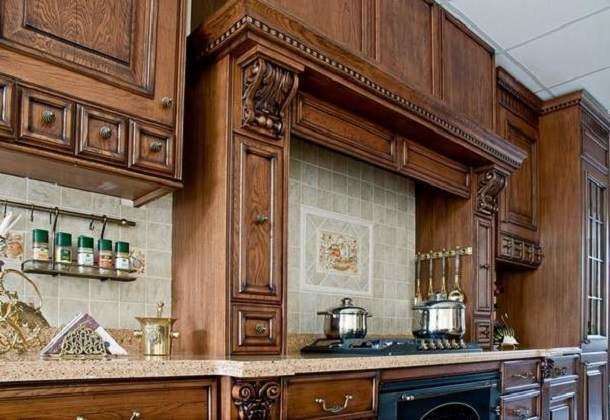
- Facades made of wood. Elite furniture, which is fabulously expensive, consists entirely of solid wood. Therefore, more often only facade parts are made of wood. For this, species such as beech, teak, oak, walnut, maple are used. Such headsets are almost eternal with proper care, minor damage can be repaired on your own.

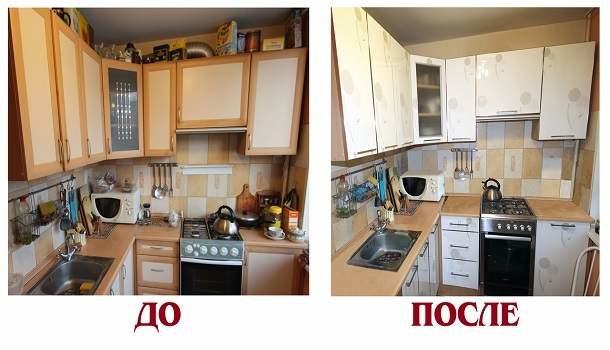
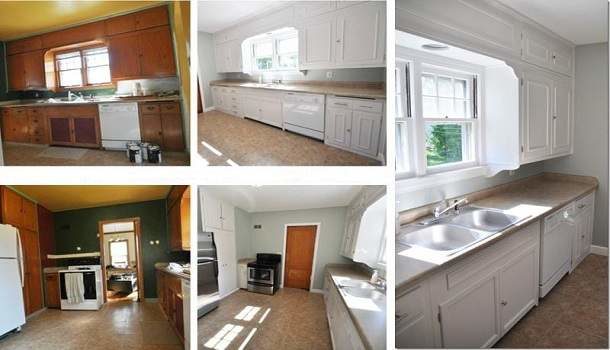
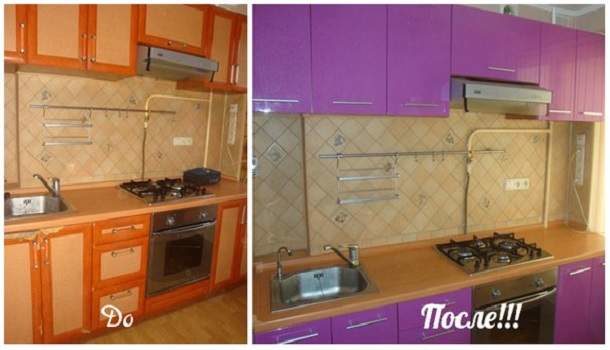
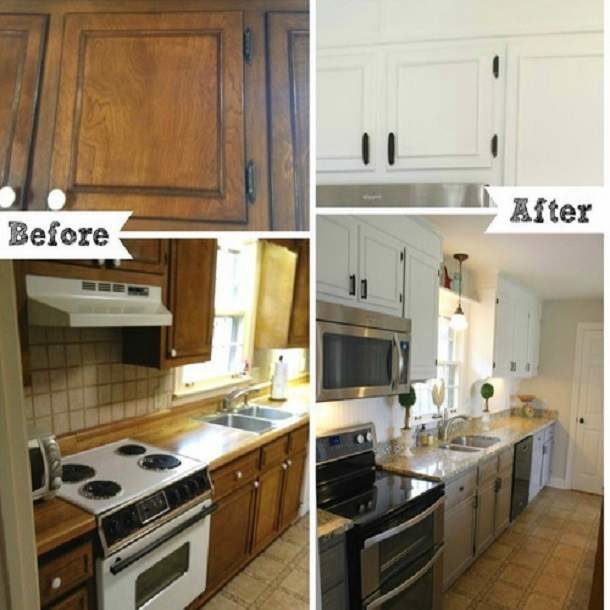
Attention! A selection of photos of headsets before and after restoration is presented at the end of the article.
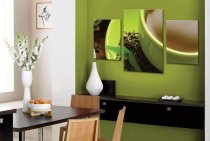
DIY kitchen restoration ideas
How to breathe new life into old kitchen furniture? There are quite a few ways:
- Decorating with stickers will help hide minor scratches and chips.
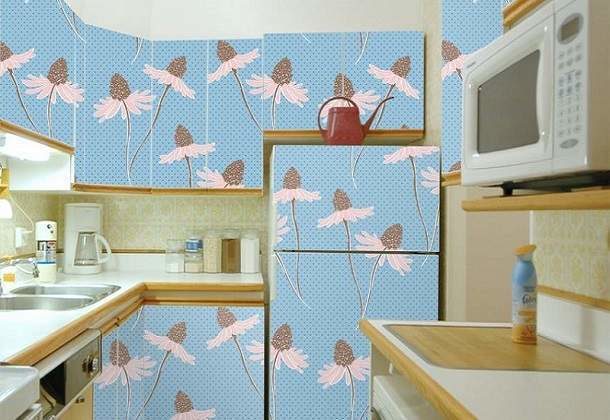
- Pasting with a film - will hide more serious damage.
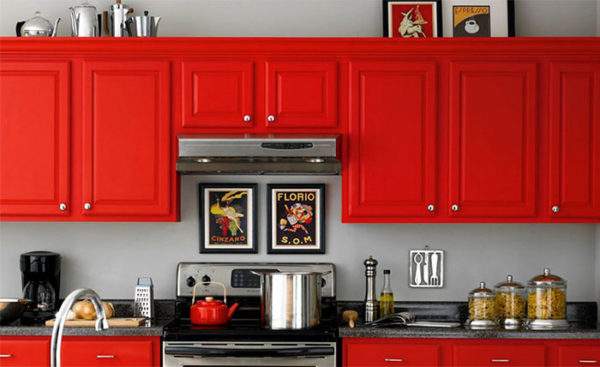
- Coloring - gives a completely different look to the facades of kitchen sets.
- Lacquer application - usually used to restore and protect furniture made from natural wood.
- Decoupage - applying applications or convex patterns.
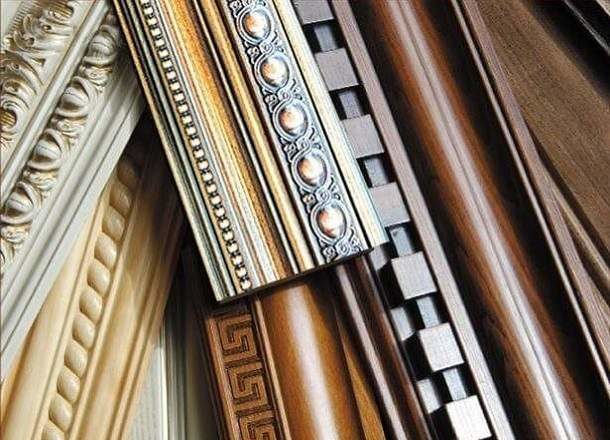
- The use of moldings and decorative overlays made of wood or plastic.
-

- Decorative stickers

-
- Facades covered with foil
-
- Kitchen updated with lacquer
-
- Painted facades from MDF

-
- Decoupage
-
- Decorative furniture overlays
For best results, these methods are combined. Let us consider in more detail the methods of restoration and the features of the restoration of different types of facades.
Restoration of kitchen facades from MDF
Small chips and scratches are repaired with a furniture wax pencil. It is applied to the place of damage, and after hardening, the restored surface is polished with fine sandpaper. The pencil is selected to match the color of the facade.

Decorative stickers will update the look of the headset and hide minor defects. Before gluing the surface is cleaned and degreased.

With more serious damage, you have to completely change the appearance of the furniture. For kitchen facades made of MDF, painting or pasting with vinyl film is suitable.
Using self-adhesive film
A quick and cheap method to drastically change the look of a headset. The range of films is huge, so you can realize any design ideas.

Tip: choose quality materials.They will cost more, but a thick or textured film will lie more evenly, and small scratches under it do not need to be repaired: they will be invisible.
Work algorithm:
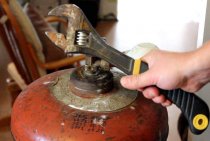
- We unscrew the fittings from the facades, clean and degrease the surface for better adhesion.
- On the reverse side of the film there is a grid with a cell size of 1 cm. Using it, we transfer the shape and dimensions of the pasted surface to the material. It is recommended to leave allowances of 1-2 cm around the entire perimeter.
- With sharp scissors, carefully cut out the measured fragment.
- We stick the film from top to bottom, gradually removing the protective coating and smoothing it with a plastic spatula or cloth from the center to the edges.
Important! Try to avoid the formation of air bubbles under the film. If they do appear, there are two ways to remove them. First - until the glue has set, carefully peel off the film and stick it again. The second is to pierce the bubbles with a needle, and then smooth with a spatula.
When sticking, we pay special attention to the edges: in these places, most often the film begins to bulge and peel off.
Coloring
It is important to remember that the paint is applied only to areas that do not have external defects. Therefore, small scratches and chips are sealed in advance with wax or putty.

Acrylic paint or car enamel is used in the work: it is more expensive, but more durable. The car spray is easier to apply, lays down more evenly, better protects it from moisture and temperature in the kitchen.

Coloring steps:
- We remove the doors and unscrew the fittings. Fixed elements that need to be protected from painting are sealed with masking tape.
- If the surface of the MDF is covered with a film, remove it. Facilitate the work of a building hair dryer.
- We process with fine sandpaper, remove dust and degrease.
- Apply two coats of primer. For hard-to-reach places we use a brush, for flat surfaces - a roller. You can apply a primer with a spray gun. Be sure to let the first coat dry completely before applying the second.
- The paint is applied with a brush or roller in one direction. The aerosol is applied only with the use of a respirator. The environment also needs to be protected.
- After the paint has dried, cover the front part with a layer of transparent varnish.
Restoration of the ends of furniture made of chipboard
The front surface of headsets made of this material is restored using the methods described above. Other damages that are typical for this type of furniture - chips on the ends - are repaired with melamine edging.
- In the store, we select a new edge by color and thickness. We measure the length of the desired segment in advance and buy material with a small margin.
- Remove the old frame. To do this, heat the end face with an iron.
- With a chisel, we remove the irregularities of the butt, and then grind it with fine sandpaper.
- We apply a new edge in place and smooth it with an iron. After the glue has hardened, cut off the excess with a sharp knife, and grind the joints.

Restoration of kitchen facades made of natural wood
Solid wood furniture looks great, but requires compliance with several operating conditions:
- The surfaces of wooden sets should be cleaned with soft cloths soaked in soapy water. Do not use solvents or abrasive cleaners.
- Do not place hot dishes on the countertop.
- Humidity in the room should not rise above 70%.
- Minor damage, scratches should be repaired as soon as possible.

Scratches and cracks on the facades of solid wood furniture are repaired with melted wax. Chips are leveled with putty on wood. After leveling the surface, the restored area is covered with a layer of furniture varnish.
If you need not just minor repairs, but a complete update of the appearance of the facade, replace the entire lacquer coating. This is done in this way:
- Facades are dismantled and freed from fittings.
- The surface is carefully treated with fine sandpaper. It is necessary to completely remove the old varnish coating. This is not always easy, especially if there are embossed patterns or indentations.
- Lacquer shavings and sawdust are removed with a damp sponge or napkin.
- After drying, the surface is primed twice, allowing each layer to dry before applying the next.
- Apply varnish with a brush or roller. We form a protective film in several layers, with each subsequent layer being thinner than the previous one. The varnish dries for at least a day in a well-ventilated area.
A different shade of wooden furniture will give a stain or varnish with pigments.
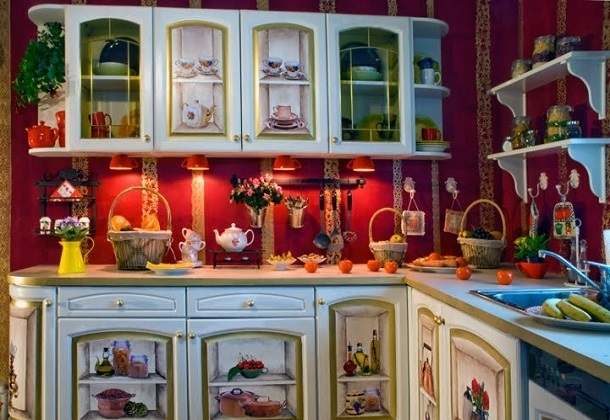
You can change the headset beyond recognition and give it a more modern look, as in the photo, by coloring.
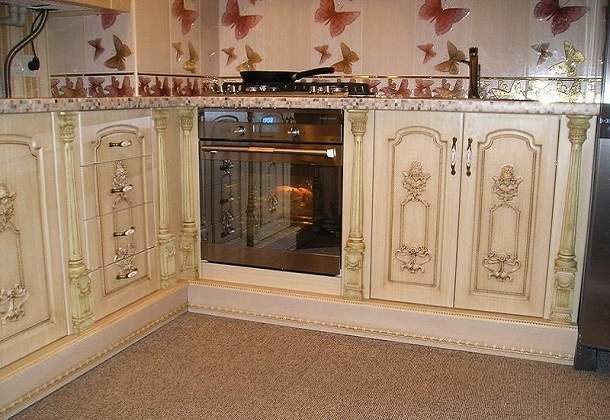
Moldings, overlays and decoupage
These restoration methods will give the kitchen set unique features: the scope for imagination is not limited here.

Before applying jewelry, the surface under them is prepared: the place of application is polished, cleaned and degreased.
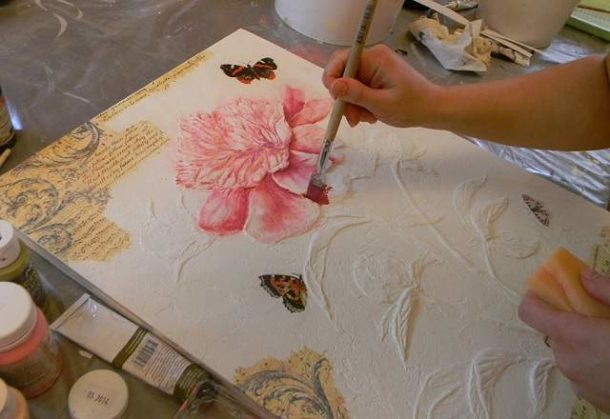
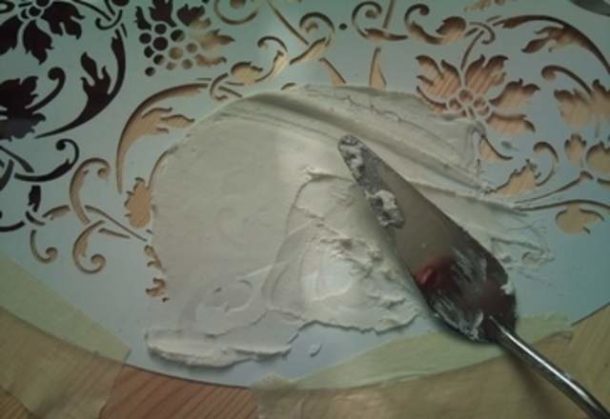
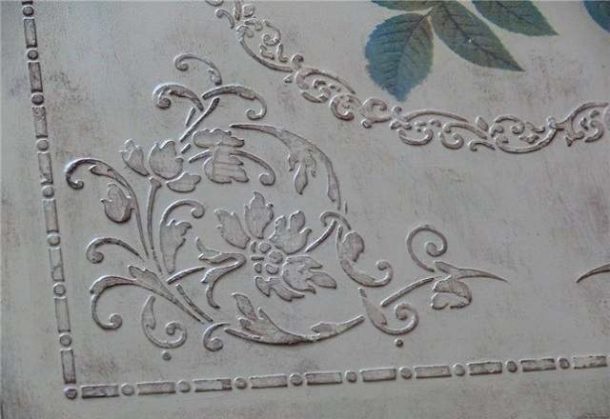
A three-dimensional decoupage pattern is formed using a stencil: a material is applied through it to form a bas-relief. A popular option is to use wood putty. After drying, the pattern is polished with sandpaper and covered with a protective layer of transparent or colored varnish.
-
- Volumetric decoupage
-
- Applying putty through a stencil
-
- Decoupage putty
For decoupage using napkins or decoupage cards, PVA glue is applied to the selected material. Then the drawing is applied to the cabinet door and smoothed out. After drying, 4 layers of matte or glossy varnish are applied.

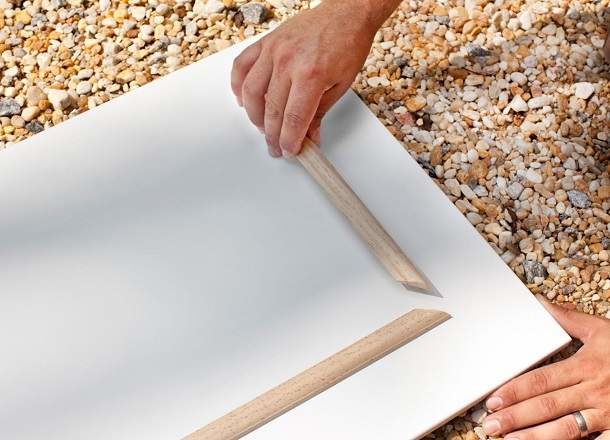
Moldings are overhead wooden or plastic elements. They, as well as decorative overlays, are glued to a previously prepared surface. For wooden moldings, it is possible to mount on small nails without hats.
-
- Moldings and trims

-
- Kitchen renovation with moldings
-
- Furniture moldings
-
- Decor for furniture

Restoration of countertops and kitchen table: interesting ideas
To refresh the countertop or table surface made of chipboard, staining, decoupage and varnishing are used. But there are other ways, such as tiling, as in the photo below.

The surface of the countertop improved with the help of ceramic tiles receives many advantages:
- Not afraid of water ingress.
- Becomes more resistant to mechanical damage.
- Easily washes and is cleared of pollution.
The disadvantage of such an upgrade is a significant increase in the weight of the countertop. But since kitchen furniture is used permanently, there is no big trouble here.

The tile keeps within on normal tile glue. But the work has its own characteristics:
- First, we fix metal corners on liquid nails around the perimeter of the tabletop. They serve as edging tiles and close the end of the coating.
- We lay the tiles: tightly and with minimal gaps. The glue dries quickly, so you should not cover the entire countertop with it at once. It is recommended to apply it in small portions under one or two tiles.
- We wait at least 6 hours until the glue dries completely, rub the seams and cover with a protective layer of varnish.

Another original way to transform a countertop is to create a mosaic or ornament under tempered glass. Several rails or corners are screwed to the surface, which will divide the countertop into zones. Decorative filler is poured into these sectors: small pebbles, coins, shells, beads or sand. From above, all this splendor is closed with shock-resistant glass, which is planted on glue.

Burnt-out countertop restoration
Burnt countertops can be restored to their original appearance in this way:
- Using a milling cutter, carefully select the damaged area.It is necessary to go deeper into the surface with ledges, reducing the area and slightly capturing intact material around the perimeter. It turns out a recess similar to a quarry in miniature.
- The recess is filled with softened wood putty. It dries quickly, so we tamp it into the recess in small portions.
- We cut off the protruding excess with a sharp knife, carefully grind the patch, and then polish it.
- We paint the restored place. In this case, you need to try to reproduce the color and texture of the main part of the countertop.
By combining these methods, you can restore kitchen furniture without a large financial investment. So it will turn out not only to restore the appearance of the old kitchen set, but also to make it unique.
And finally, the promised selection of photos of kitchens before and after restoration.