The procedure for opening different options for drain tanks
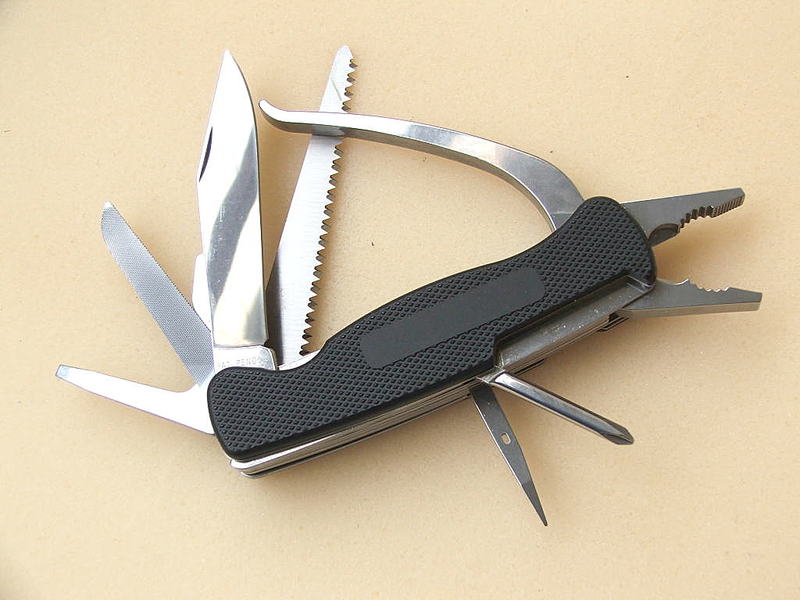
To remove the tank cover, you will need a screwdriver, pliers and a knife.
Some models of clay cisterns make it easy to remove the lid, since the drain button is not attached to the flush mechanism. However, there are other options for tanks, before removing the cover of which you will have to work a little.
There are toilet cisterns with trigger handles. You need to be extremely careful when parsing these structures. If at least one element is damaged, difficulties may arise in further work. Before starting to disassemble such models, it is necessary to close the cabinet door with valves, if any. If the drain control lever is located on the side of the tank, and there are no additional buttons / levers on the cover, you just need to lift it up and remove it.
If the design of the tank involves draining water by pulling up the rod passing through the cover, unscrew the ball located at the end of the rod. Then you can open the structure in the above way.
Less convenient for disassembling tanks, controlled by buttons, and not by rods / levers. However, due to the fact that such models provide additional features (for example, draining at will - for three and six liters of water), they are beginning to be in increasing demand. To remove the cover with the button located on it, you must first unscrew the tube located around the button or two semicircular buttons. Outside, it is a ring. In the event that instead of two buttons there is one that can swing in both directions, you first need to pull it out.
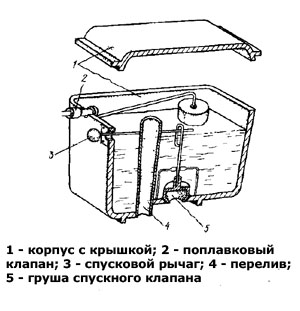
Scheme of a drain tank with an open lid.
However, even after these actions, the cover cannot be removed - it will only be possible to slightly move it up. This is enough to rotate the lid so that it is in position across the body of the toilet bowl. Having arranged it in this way, it is necessary to unfasten the latches of the button assembly and remove the cover along with it.
So that the cover does not interfere with the process of opening the cabinet door with valves, it should be removed and placed in a place where it cannot be touched and broken. If, however, the lid breaks, you will have to change the tank, since it is not sold separately. Before replacing the float or the valve controlled by it, it is imperative to open the door, shut off the cold water supply and close it again. Otherwise, there is a possibility of flooding due to overflow of the tank.
After that, it is recommended to check it several times in operation without a lid. Make sure that the valve is guaranteed to close every time the float is raised. Only after such a check should everything be assembled in the reverse order.
As can be seen from the above measures, removing the toilet cistern lid is not difficult. You just need to understand each specific design. In this case, the analysis of the drain mechanism must be carried out strictly according to the instructions. It is always attached to the purchased toilet.
It is important to remember that taking apart something is much easier than reassembling it. If it so happened that there is no instruction, you need to memorize the sequence of disassembly and location of parts with particular accuracy.
Nuances when disassembling the toilet bowl
Now that you know how to remove the toilet tank lid with a button, you can begin to act. However, during operation, it is still worth following some recommendations from experts.
First of all, care must be taken during dismantling, especially when working with ceramic products. Any, even a slight mechanical impact, can lead to a crack on the faience surface.
Remember that it is impossible to purchase a cover separately from the tank, so if the product is damaged, you will be forced to replace the tank completely.
The above method of removing the cover is suitable for models in which plumbing is connected to the side. If water enters the tank in a different way, carefully inspect the lid for additional fasteners. Most likely, you will have to dismantle them.
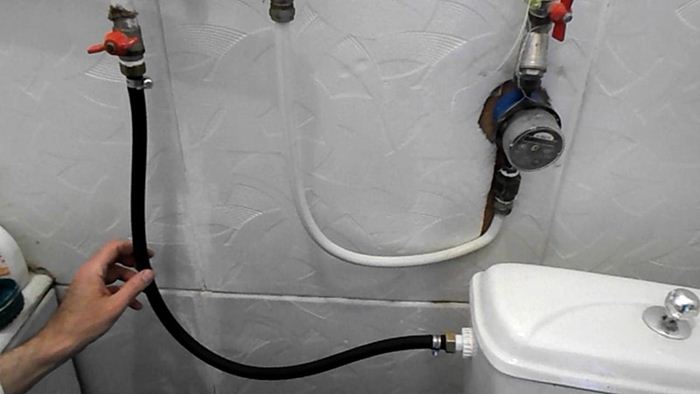
Most models have a lateral water supply to the tank
The water drain system also has its own characteristics in different models. Sometimes it just unscrews, but there are products where the lid rises, and under it there is a screw that secures the drain mechanism.
To eliminate some breakdowns, removing the cover is not enough. If there is a need to disassemble the water supply valve to the tank, this assembly must be released. To do this, unscrew the nuts holding it, located on the water supply hose. In most models, it is connected to the side wall of the case. You can carry out such actions with the help of a pipe wrench and pliers.
The drain assembly is removed by gently twisting it counterclockwise. Remember that all parts of the tank are made of plastic, so do not make significant efforts to dismantle them in order to avoid accidental damage. Having unscrewed the block, take it out and remove the sealing gaskets that fix the mechanism to the tank.

To remove the tank completely, you need to unscrew the nut between it and the toilet bowl
If necessary, remove the tank completely, you need to unscrew the nut connecting it to the toilet body and remove the rubber sealing insert.
All dismantling works are quite easy and will not take much time. However, the masters recommend accurately remembering the sequence of actions during the disassembly process, and if possible, write it down. Because assembling a structure is always much more difficult than dismantling it.
Having discovered a malfunction of the drain tank, you should not immediately contact the specialists. Knowing his device, as well as having free time and desire, you can always try to cope on your own. This will save you money on paying for the work of the master and acquire the skills of plumbing.
http://zonavannoi.ru