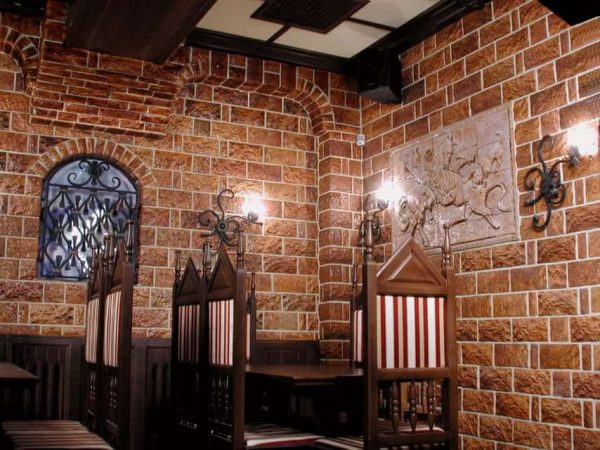
Advantages of terracotta tiles
The wide distribution of the considered tiled coating in the decoration of fireplaces, stoves, and other surfaces of the apartment is due to:
- Non-strict geometric shapes that form a luxurious atmosphere of an aesthetically attractive interior.
- masking defects. Under the tiles, cracks, deep seams and other problems of brickwork are freely hidden.
- A design update that allows surfaces to always be in line with the latest design trends.
The durable structure of terracotta tiles is used for a long period of time. It effectively resists the destructive effects of the heat generated by the fireplace, as well as seventy cycles of defrosting and freezing. Incapable of absorbing liquids, the interiors of baths, saunas and other periodically moistened rooms are decorated with material. The original color is preserved under the ultraviolet part of the radiation sent by the sun, and the natural environment is not polluted by the environmentally friendly components of the products in question. Thanks to this, the well-being of people in the rooms decorated with terracotta does not worsen.
Installation of terracotta tiles
First, the surface is subjected to a preparatory measure. If it is planned to revet the obsolete masonry of brick blocks with terracotta, the base is freed from accumulated dirt, settled dust, found raids and residues of fat-containing substances. To prevent cracking and peeling of the coating, the structure of a newly built fireplace should be in its final position after the shrinkage process. In baths and saunas, the planes are freed from harmful microorganisms, covered with an antiseptic primer and thoroughly dried. Next, a heat-resistant mortar is selected, with which the elements of the terracotta sheathing will be attached:
- Cement adhesive contains modification additives that improve the resistance of the elastic layer to high temperatures.
- Heat-resistant mastics are completely ready for use, form a stretchable layer, perfectly adhere to the base plane and finally dry up four hours after application.
- Cement-sand adhesive is prepared by combining dry cement with sand in a ratio of 1:3. The components in the container are diluted with water and mixed to the optimum density. The resulting material is supplemented with table salt (ratio 10 l: 1 kg) and a small amount of asbestos. All components are mixed with a construction mixer until a homogeneous composition appears.
To make the masonry resemble brick blocks, the installation of terracotta tiles begins from the corners of the structure. Before its implementation, the surface to be decorated and the side of the product containing the corrugation are treated with an adhesive solution, the thickness of which is controlled by a notched trowel. Then the material is applied to the base and takes the optimal position with short movements. The correspondence of the formed rows to the axes is controlled by the building level. In order for equally wide seams to appear between the tiles, it is recommended to use plastic auxiliary crosses, which are removed the next day after laying.
When the coating element is trimmed, a trajectory is marked along which the cutting edge of the disk attached to the grinder is drawn and a piece of the required size is separated. Breakage of the porous product is prevented by carefully performing said work. The next day after laying, the seams between the terracotta tiles are rubbed.To get an acceptable result, craftsmen are advised to use mixtures that resist 400-degree heating. They are prepared according to the manufacturer's instructions and applied with a special gun.
In order for the layer to get a thickness of 6–8 mm, the pistol nozzle is cut at a certain angle using a paint knife
Then it is inserted into the space to be treated, and the craftsman carefully squeezes out the rubbing material, moving the device along all joints until the layer thickness matches the level of the tiled surface. After a two-hour pause, the remaining grout is removed with a knife blade, and the seams are finally leveled with the fingers of hands equipped with protective gloves.
Sublimation coating for ceramic tiles
Few people know that a special sublimation coating can be applied to ordinary factory-made ceramic tiles, on which you can print any pattern and thereby create a beautiful author's panel. For this method, it is necessary to have the appropriate equipment and adhere to a certain technology, which includes three stages:
- coating tiles with varnish for sublimation;
- applying by printing on photographic paper with special ink a picture according to the principle of "image in a mirror";
- fixing the picture on the tile;
- two minutes heat treatment.
Applying a sublimation coating to ceramic tiles is a rather complicated process. The quality of such a coating will depend on the quality of the print: an excessively thin layer of varnish will give a too pale print, and with an excessively thick layer of varnish, cracks may form.
Paint for ceramic tiles
Old ceramic tiles can be repainted. A special epoxy paint is used for painting. There is nothing complicated in the method of its application. However, it is necessary to carefully prepare the surface to be painted.
First of all, you need to clean the tile from dirt by washing it with soapy water. Then you need to wipe the ceramic surface with a soft cloth moistened with some kind of alcohol-containing agent or a weak solution of vinegar. Clean and grease-free tiles should be sanded with fine sandpaper (zero is best for this).
Before painting, it is recommended to apply a primer to the prepared ceramic surface, not forgetting the seams, which most often do not look very neat. After applying the primer, you need to wait for it to dry completely. If the surface is lightly sanded, then the paint will lay down better and cling to the ground more firmly. The paint should be applied in several layers, allowing each layer to dry properly. Usually double coverage is sufficient.
Tiles are used as flooring, footpaths and sidewalks. The material is exposed to external influences and needs to be updated, or the structure and color can simply get bored. Impregnation for paving slabs Wet effect will help to solve the problem.
Instructions for applying to ceramic tiles
Before painting, ceramic tiles are washed with a stiff brush and a cleaning agent.
Pay special attention to the seams. In case of poor surface condition, the tile can be sanded with fine-grained sandpaper.
A prerequisite for successful restoration work is that each stage of decorating tiles must be completed by thoroughly drying the applied layer.
After removing dirt and dust, you can start restoration work:
- using a lint-free cloth and a special solvent, degrease the surface of the tile;
- apply a primer;
- using a roller with a foam rubber surface, paint the tile (treat corners and hard-to-reach places with a paint brush);
- apply a protective varnish in a thin even layer (when working on the floor, the composition can be applied with a soft cloth).
Painting ceramic tiles can be done manually or using a ready-made stencil.Beautiful, highly detailed drawings are obtained using reusable industrial stencils. Such forms have an adhesive base, which prevents the paint from spreading and accidentally shifting the stencil.
Many are interested in whether it is possible to paint ceramic tiles in the kitchen, where the likelihood of contamination with grease, soot and food debris is especially high, and the tile backsplash is often exposed to hot steam. Experts say that this is acceptable, because the protective varnish film for ceramics is resistant to detergents and cleaning agents.
Safety
Before you paint and varnish the tiles, you should study the safety precautions for performing this type of work. To prevent dust from entering the respiratory tract and eyes, wear a respirator and goggles during preparatory grinding.

Even when using water-based paints and varnishes, painting and varnishing is recommended:
- in ventilated rooms;
- in rubber gloves;
- away from sources of heat and open flames.
Forbidden:
- smoking during restoration work;
- throw away paint residues into the sewer.
Paint that gets on hands, tools and clothes can be removed using a special solvent.

Painting ceramic tiles requires the following tools and materials:
- cleaning sponges, napkins and brushes for cleaning;
- liquid degreasing agent (solvent, technical alcohol, acetone);
- primers;
- sanding mesh, fine-grained sandpaper;
- rubber gloves;
- respirator;
- brushes, rollers;
- special bath for paint and varnish;
- masking tape;
- stencils;
- paint and protective varnish.
Artistic painting on tiles is performed using professional tools: graphite pencils, brushes, palette knife, airbrush (paint sprayer). This is a fascinating process that requires knowledge, experience and skill, therefore, in the absence of the necessary preparation, it is better to order a drawing to be done by a professional.

Pattern protection
Hand-painted ceramic tiles can be carried out before laying the tiles on the wall or floor. Also, the technique of applying paints to ceramics is popular among craftswomen in the field of hand made. Pictures, panels are made from small plates, mirrors, window and doorways are decorated with them, creating an original interior decor in the room.
To protect the pattern after application, the painted tiles are subjected to additional firing for 20-25 minutes at a temperature of +160 ... +180 C. After turning off the oven, the tile should be left in it until it cools completely.
Where can I buy tile varnish?
The sale of tile varnish is carried out in several large companies where you can purchase various building materials for any repair. You can contact the following organizations:
UralCementService
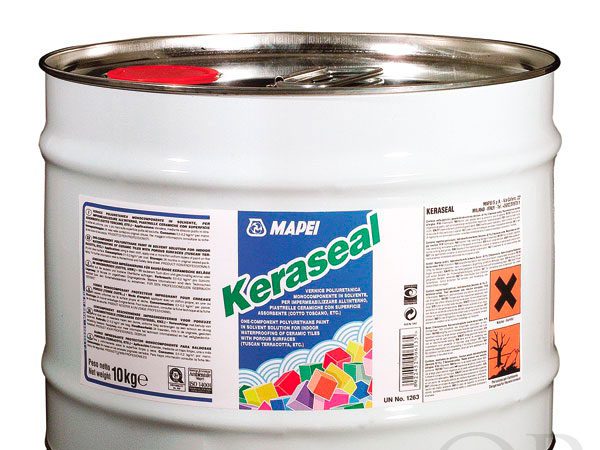
The company "UralCementService" offers high-quality paint and varnish products for finishing various coatings. Here you can buy Keraseal tile varnish and other products that can be used when working with tiles.
- Call: (343)3793902
- The address: Yekaterinburg, Mamin-Sibiryak street, building 52.
Fair sex
The company "Beautiful floor" can offer everything for finishing flooring. Here you can find a large selection of varnishes and paints for various surfaces.
- Call: +73433734746
- The address: Yekaterinburg, street Montazhnikov, building 4.
Additional Recommendations
For work on Tuscan tiles, terracotta, highly absorbent coatings, it is recommended to avoid the use of varnish, if possible, until the adhesive has completely cured. The curing process can take months. When laying on a dry screed with cementitious adhesives, the curing time is significantly reduced.
Before varnishing the clinker, it is recommended to process the seams first. Then, after varnishing, the surface will look perfect if you decide to varnish the tile.

When it is not possible to replace the old tile with a new one, then with the help of varnishes you can give the floor or wall a completely new look. If the tile has just been purchased, then the varnish coating will help protect it from moisture, from various mechanical influences, and from temperature changes. Varnishing will give a positive effect, and if the result is not to your liking, you can paint it. Also, the varnish is good because it is applied independently.
Applications and technical parameters
Tile varnishing is used for such coatings:
- absorbent type ceramic tiles (for example, Tuscan tiles, terracotta, etc.);
- facings with seams based on cement grout;
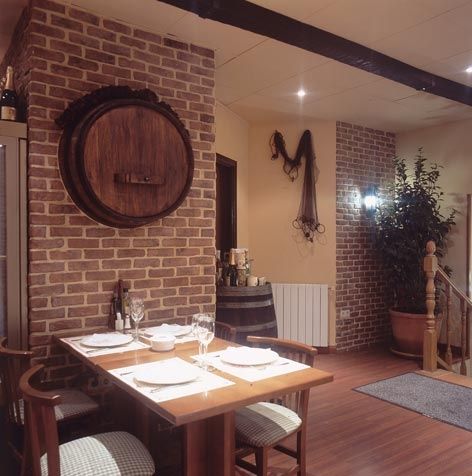
- facings made of natural stone or brick;
- concrete floors, coverings made of natural and agglomerated stone, as well as paving slabs, etc.
This type of varnish is usually made on the basis of acrylic with the addition of very small particles of ceramics. Also, the tile varnish may include a urethane polymer dissolved in aliphatic solvents.
After drying, the treated surface becomes glossy and much stronger, which helps prevent its mechanical damage.
If Tuscan tiles, terracotta tiles or any other highly absorbent coatings are to be varnished, the use of varnish should be avoided until the conventional adhesive has completely hardened. Otherwise, the tile is threatened with fading. In some cases, you may have to wait several months. However, when laying on dry screeds using cement-based adhesives, the waiting time is drastically reduced.
The varnish must be applied not in a thick and uniform layer. For this operation, you can use a piece of cloth. The main thing here is to prevent sagging, which is especially visible on a light coating.
Step by step instructions for laying terracotta tiles
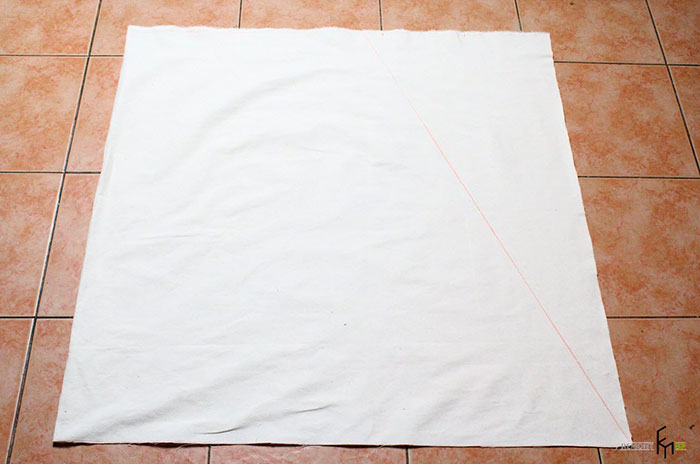
We carry out the marking starting from the doorway of the kitchen (in case the tiles will be laid diagonally).
We nail a wire reinforced mesh to the floor cleared of the old coating (the old tile or linoleum). You can use a construction stapler for this.
It should be borne in mind that the diamond circular saw is cooled by water (it also washes away dust), so sawing should be done in a separate room with a water drain provided.
The next day, proceeding directly to laying the tiles, first of all mix the prepared adhesive in the most thorough way. It should be remembered that the glue is not first applied to the tile, but to the wire mesh nailed to the floor. It is necessary to apply with even and confident strokes of a spatula until a uniform adhesive surface is formed, and since the glue dries quite quickly, they do not need to cover the entire floor at once, but small sections of it.
Then glue is applied again to the dried areas of the floor surface, but unevenly, but in the form of parallel scallops. The fact is that the tiles, superimposed on these strips of glue, will press them into the floor with their own weight. In this case, the glue will be evenly distributed under the tile, and its excess will not protrude between the tiles. Otherwise, if voids remain under the tiles, it is possible that they may crack.
To be sure that these voids under the tiles are not left, they should be more tightly fitted to the floor with a rubber mallet.
In most cases, when laying tiles, you have to cut individual parts or cut curly shapes from them. A diamond disc cutter is ideal for this, but as a last resort, use a hand saw with a thin blade for this.
On the second or third day, after the laid tiles have dried all night, it remains to start grouting the tile joints.The gray color of the grout seems to be preferable, since the joints when laying terracotta tiles are quite wide and the grout of any other color on the floor will look out of place.
Let's repeat the step-by-step nature of the actions we are taking.
So. Terracotta tiles
We continue to do styling.
Do not forget about safety precautions and compliance with safety regulations. Wear safety goggles when sawing terracotta tiles.
Before you start gluing tiles, place them on the floor of the room dry, at least in those places that cause you doubt
If as a result you have all doubts about the quality of fitting the tiles to each other, you can start gluing.
Rub the tile adhesive onto an area (1 square meter) of wire mesh with the edge of a spatula. The setting time for this adhesive is about 10 minutes.
Take another spatula, on this one with wavy edges, and apply wavy strips of glue with it to the already dried parts of the floor. Place the tiles on this area of the floor, the weight of the tiles will evenly distribute the glue applied by the waves under them.
Use a rubber mallet to tap the tile that has been glued to the floor to make it stick to the floor more firmly and to remove voids between the tile and the floor.
If you need to use curly sizes of tiles, especially when laying diagonally, then initially cardboard templates can be used instead.
Since there are no completely even and straight walls in houses, this can be very noticeable when laying tiles. To minimize this effect, it is advisable to lay the tiles on the floor at an angle of 45 degrees to it, and not parallel.
You must try not to apply too much adhesive under the tiles, even if you apply it in waves in full accordance with our instructions. Excess adhesive itself will protrude between the tile seams.
After the tile itself has been glued, it must be allowed to dry for at least ten hours.
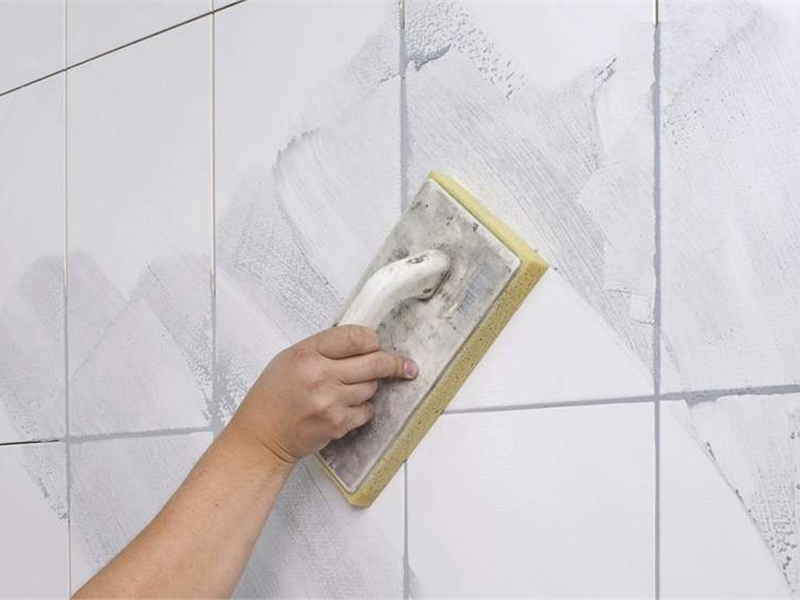
Gray tile grout is applied using a special grout tile that must be held at an angle of 45 degrees to the surface.
For grouting narrow spaces between tiles, use the smallest plastic spatula.
No later than ten minutes after grouting, wipe off excess grout from the surface of the tile with a damp sponge. At the same time, the seams themselves should be made somewhat in-depth.
The last stage of work with this tile will come no earlier than three weeks after the tile is installed. By that time, both the glue itself and the grout will harden to a stone shape. Since terracotta tiles are unglazed, they must be protected from external influences by applying a special protective composition to them.
Instructions for use
Before applying the varnish, it is necessary to prepare the floor surface. It must be completely dry and free of dust or other contaminants. Any residual cement must be removed, the seams are leveled.
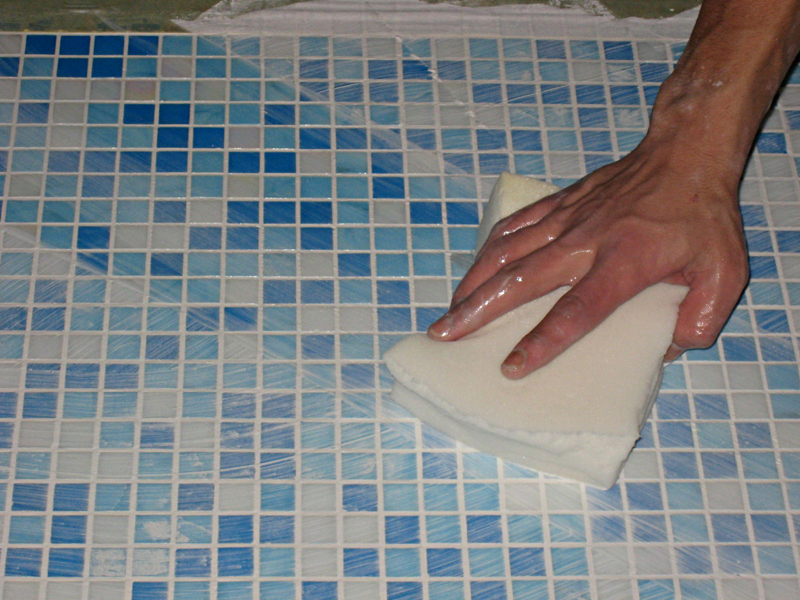
Apply varnish as evenly as possible. Do not immediately pour out all the material, and then distribute it - this can lead to sagging and spots. Then the layer is given time to absorb - 2-3 minutes, the excess is removed with a rag.
If terracotta, Tuscan tiles and other highly absorbent materials are varnished, the surface should be treated once more to obtain a high-quality result. If the tile absorbs weakly, then the composition is applied only with soft tissues to avoid spills that can spoil the result.
These coatings can also be used for pre-treatment of Tuscan tiles, absorbent tiles before laying on the adhesive or on the cement mixture. This will help remove the finished tile. But terracotta should not be pre-treated - there is a risk of fading.

Preparing for laying terracotta tiles
Just like in the case of ordinary tiles, it will take no more than three days. But there are certain features, after all, we are dealing with unusual floor tiles in an ordinary kitchen room. So, you should be prepared for the fact that the floor, laid with terracotta tiles, will rise above your usual level, since the thickness of this tile is higher than the usual 12 millimeters.
Therefore, the very first day of your work can completely be spent on preparing the kitchen for tiling: removing all the furniture and household appliances, removing the furniture itself and making the necessary measurements. Also, if you are not going to remove the wood floor or linoleum and plan to lay tiles on top of them, then extra time will be required to nail the wire mesh to the floor, as the tile will not adhere well without it. However, if tiles have already been laid in the kitchen, then they still have to be removed, otherwise the floor level will be too high.
Old tiles should be removed to the level of a solid and hard floor, only on such a floor the tiles will hold securely and the mortar connecting the tiles will avoid cracking.
Prepare an aluminum profile in advance for measurements and determination of levels. You should immediately decide where you plan to start laying, and also find out for yourself the question - will you be edging along the edges of the kitchen, especially if the tiles are laid diagonally.
Also, don't forget to leave part of the threshold in the kitchen uncovered in case the floor in the adjoining room ends up on a different level. In this place, you will later need to install a special transition bar.
Application of protective impregnation on the seams
After grouting, the joints must dry completely. The grout mixture from different manufacturers will have different drying times and readiness for further processing.

Before applying, it is necessary to isolate the tile from getting a protective compound.
For example, you can carefully glue with paper tape and leave only the seams open. This will be better for tiles with a monotonous or one-color pattern, on which various defects are more visible.
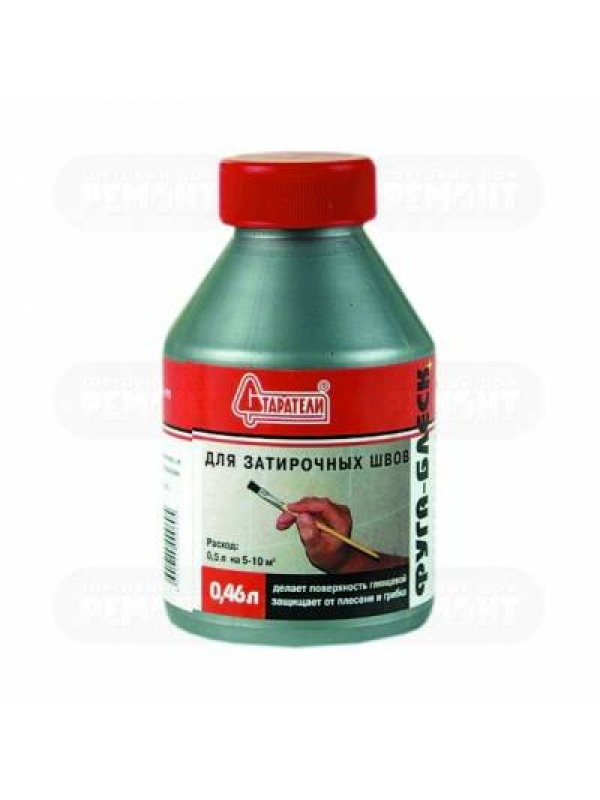
The seams between the tiles are smeared with a thin brush.
This method guarantees high-quality uniform coverage. Compositions with deep penetrating ability are applied in 2 layers, since the first layer is almost completely absorbed into the grout. A double layer will provide the best protection.

Cover the material with impregnation with exposure to certain indicators of temperature and humidity. These figures are indicated on the label. If they are not observed, the impregnation may lose its properties and generally begin to fall off. It is best to use a universal impregnation water repellent.
After applying protective impregnation, it will be better to leave it for 1-2 days for complete drying and hardening. After that, further processing can be carried out.
A few tips to help give a new look to old tile joints:
- If they are not subject to destruction or cracking, which is caused by moisture or mechanical stress, then they can be simply one layer of deep penetration impregnation. It protects from destruction.
- Colored seams can be cleaned, updated with acrylic paint, and then applied with a layer of protective impregnation (acrylic or polymer)
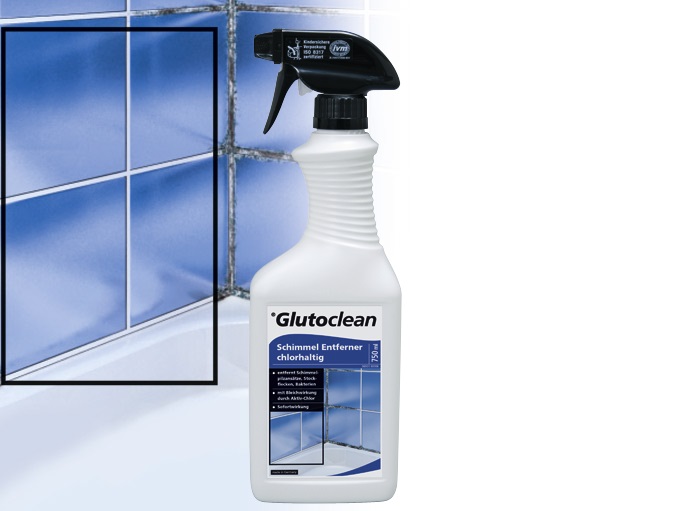
- Dirt is removed with a toothbrush and bleach. Treat stubborn stains with baking soda and vinegar. Soda is poured, then poured with vinegar. A chemical reaction takes place that pushes the dirt out of the pores.
Means for processing tile joints (20 photos)


After some time has passed after the repair is completed, stains appear on the ceramic tile, it fades, scratches appear on the coating, and the tile joints begin to let moisture through.This is especially true for porous coatings with a matte finish - such floors are most susceptible to mechanical stress and pollution. A good way to prevent such troubles is to varnish the tile. Lacquering will not only protect against damage, but also provide a higher contrast in the colors of materials, giving the floor a fresh look for several years to come.
Coating tiles with a special varnish allows you to observe its original appearance for many years.
Instructions for use
Tiles must be absolutely dry and free from dust and all kinds of contaminants. All traces of cement should be removed, the seams should be aligned. Thorough cleaning of the floor is a prerequisite before varnishing.
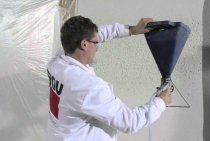
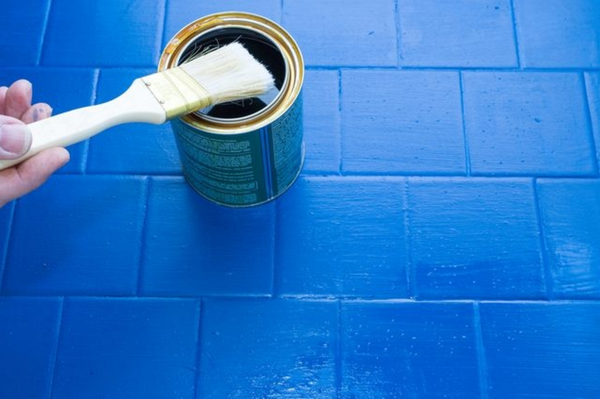
Lacquer application
Paint should be applied with a clean piece of soft cloth. There should be no lint on the fabric. You can also use a soft brush. Consumption of tile varnish - from 100 to 200 grams per square meter. Lacquer should be applied evenly. It is wrong to pour the varnish on the tile, in order to then distribute it over the surface - this will lead to the formation of sagging and stains.
After applying the layer, you need to allow the composition to soak in for several minutes. Next, you need to remove the remaining varnish with a rag. If the material is highly absorbent (terracotta, Tuscan tiles, etc.), it is necessary to process the tile again to achieve the desired result. On poorly absorbent tiles, the composition can only be applied with a soft cloth in order to prevent spills that visually spoil the floor.
 The best way
12 hours after the treatment of the floor, you can walk on it. The application of varnish on wall tiles is carried out according to the same principle as on the floor.
Tile varnish can also be used to pre-lacquer Tuscan tiles and other easily absorbent materials before laying them on a cement-based adhesive or before making joints. Such actions will facilitate the cleaning of the finished tile. However, pre-treatment is not necessary when laying terracotta on mortar, as this will cause the material to fade.
Upon completion of work - hands, tools and work clothes can be cleaned with turpentine or other solvents.