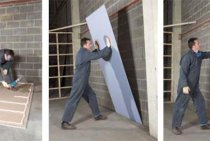
Drywall ─ one of the demanded materials for interior decoration. It is used for leveling walls and ceilings, building partitions, niches and various decorative structures. However, the surface does not turn out to be monolithic: the sheets of material have a certain size and when they are joined, joints are formed. Puttying drywall for painting will mask all defects and irregularities, and prepare for the final stage of finishing. To obtain an impeccable result, you must follow the technology of work and select the right materials.
Tools and materials
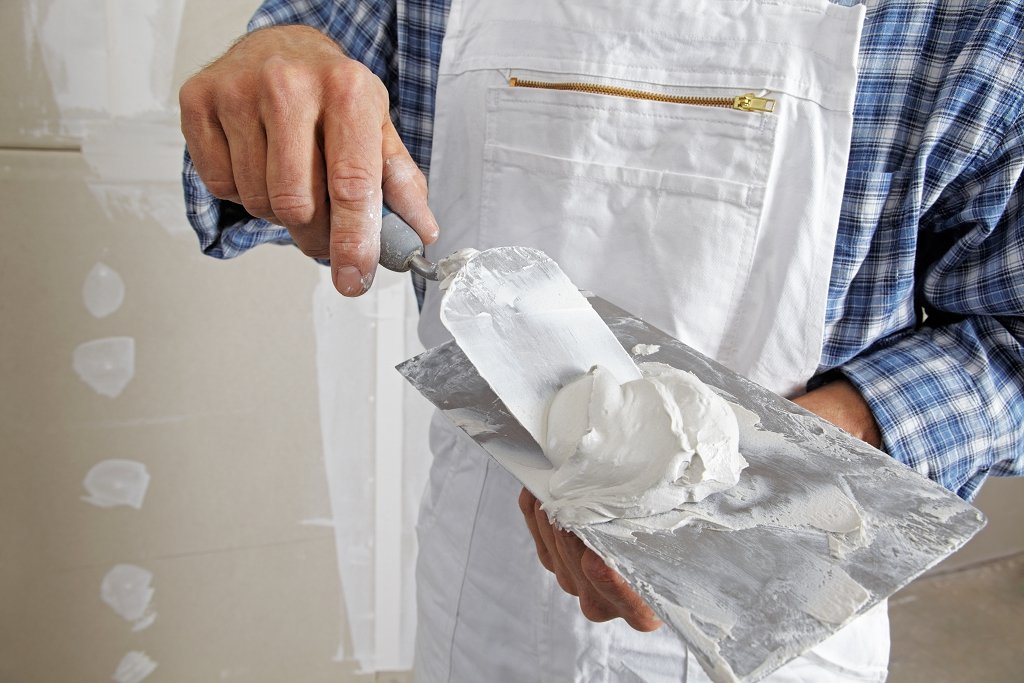
For puttying walls and other surfaces, it is necessary to purchase a special mixture, a primer and a sickle for sealing joints.

In addition, you will need:
- a drill with a stirring nozzle or a mixer;
- construction knife;
- a set of spatulas;
- a container for mixing putty (if it is bought in the form of a dry mix);
- grinding grater with a set of sandpaper;
- wide brush.
When preparing various surfaces for painting, the quality of pre-treatment with putty is important. Most noticeable flaws in the decoration of ceilings. To avoid them, it is desirable to provide additional lighting of the room with a spotlight.

Calculation of the amount of the mixture
The amount of putty needed to finish drywall depends on the condition of the surface of the sheets. The more defects, seams and irregularities, the larger the volume of the solution will be needed to eliminate them. On average, taking into account the preliminary primer, the consumption of putty in the form of dry mixes based on cement is 1.1 kg / m2, and on the basis of gypsum ─ 1 kg / m2. A smaller amount will be required when using an adhesive mixture, only 0.5 kg / m2. More precisely, the consumption is indicated on the packaging with the mixture. To calculate the required amount of putty, you should also know the area of \u200b\u200bthe surface to be treated.
When using dry mixes, they are usually bred slightly more than needed for 30 minutes of operation. It is advisable to dispose of unused putty, as it loses its elasticity and can cause cracks and other defects on the ceiling and walls.
Training
Before starting work, it is necessary to eliminate large defects and delaminations. The heads of the self-tapping screws are sunk in such a way that they do not protrude above the surface of the sheets. With excessive deepening, they are removed and the material is fixed again.
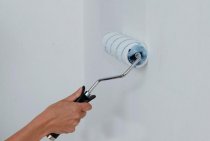
If there are delaminations on the walls and ceiling, they are cleaned with sandpaper, and the joints of the cut sheets are cut with a knife at an angle of 45 ° along the entire length of the seam. After removing defects on the ceiling and walls with a roller apply a primer. The seams pass with a brush, otherwise it is difficult to process all the irregularities.

Roughing
Painting drywall without putty is impossible, primarily due to the presence of seams. To completely disguise them, you will need:
- Fill the holes with the mixture. In this case, the spatula is placed almost horizontally, which allows you to get the most even surface.
- Glue the seams with sickle, which will prevent the formation of cracks. A layer of putty is applied on top and leveled.

- Close up on the ceiling and walls all the existing recesses from the self-tapping screws.
After drying, the seams are first sanded with a float, and then primed with a brush.

At the end, all joints on the ceiling are glued with paper tape, which will become an obstacle to the appearance of microcracks. PVA glue is used to fix it.

Processing the corners of walls and partitions made of drywall has its own specifics. First, they, as well as door and window slopes, are reinforced with perforated aluminum corners, for which putty is used.The corner is pressed in so that all the holes in the profile are filled with the mixture. Then, using a wide spatula and mortar, level the surfaces.
Putty technology
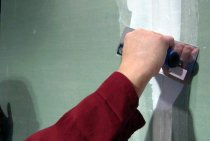
The final stage plasterboard walls and ceilings allows you to get a surface so even that subsequent painting will not reveal the slightest defect. First, everything needs to be cleaned using a grater and sandpaper. It is advisable to use a respirator to protect against material particles and dust. This treatment ensures good adhesion of drywall and putty.
To obtain a thin and durable layer on the walls and ceiling, the coating is carried out in several stages. This will require a wide spatula and putty, ready-made or diluted from a dry mixture. The solution is applied with sufficient effort, eliminating all irregularities and the slightest malfunctions and achieving its uniform distribution. To process the ceiling and walls for painting, on average, you will need three layers of putty. Especially carefully align the border between the corners and the rest of the surface and in the area of \u200b\u200bthe seams.

After the last layer has dried, the walls and ceilings are sanded. To simplify the work, it is advisable to use grinderby connecting it to a vacuum cleaner. This will give a smooth surface and provide protection from dust. To check the quality of puttying of ceilings and walls, additional lighting is used, including a spotlight or lamp. With their help, it is easy to detect deficiencies and eliminate them before the end of the work.
Then the walls and ceiling are treated with a primer, and after drying they are ready for painting.